Water conservation is an important issue that affects us all. With the increasing population and urbanization, the water demand is increasing while the availability of fresh water is decreasing. Therefore, it is crucial to implement efficient and effective methods of water conservation to ensure that we have enough water for future generations.
One solution to this problem is the use of IoT (Internet of Things) devices. IoT devices can be used to monitor water consumption and detect leakages in real-time, allowing us to take immediate action to minimize water usage. This not only saves water but also reduces energy consumption, as less water needs to be pumped and treated.
MeWater is a project that utilizes IoT technology to solve the problem of water conservation. The project is built on AWS (Amazon Web Services) cloud service, specifically the AWS IoT core. AWS IoT core is a fully managed service that makes it easy to connect, secure, and manage IoT devices at scale. It allows for the creation of a secure and reliable connection between IoT devices and the cloud, making it an ideal platform for building IoT applications.
In this project, we use ESP32 as the microcontroller for IoT devices. ESP32 is a powerful, low-cost microcontroller with built-in WiFi and Bluetooth capabilities. It is an ideal choice for IoT projects as it is low-power and easy to program.
The reference architecture for this first section is shown below:
Here is a step-by-step guide on how to utilize the AWS IoT core for building the MeWater project with ESP32:
Step 1: Create an AWS account
To use the AWS IoT core, you need to have an AWS account. If you don't already have one, you can sign up for a free account on the AWS website.
Step 2: Create an IoT thing
An IoT thing represents a physical device or an application in the AWS IoT core. To create an IoT thing, log in to the AWS IoT console and navigate to the "Things" section. Click on the "Create" button and enter a name for your IoT thing.
Step 3: Create an IoT policy
An IoT policy is a set of permissions that determine what actions an IoT thing can perform. To create an IoT policy, navigate to the "Policies" section of the AWS IoT console and click on the "Create" button. Enter a name for your policy and select the permissions that you want to grant to your IoT thing.
Step 4: Create an IoT certificate.
An IoT certificate is used to secure the communication between the IoT device and the AWS IoT core. To create an IoT certificate, navigate to the "Certificates" section of the AWS IoT console and click on the "Create" button. Select the option to create a new certificate and then download the certificate, private key, and root CA.
Step 5: Connect the ESP32 to the AWS IoT core
To connect the ESP32 to the AWS IoT core, you will need to use the AWS IoT Device SDK for ESP32. This SDK provides a set of libraries that make it easy to connect, authenticate, and send data to the AWS IoT core.
Step 6: Monitor water consumption and detect leakages
Once the ESP32 is connected to the AWS IoT core, you can use it to monitor water consumption and detect leakages. This can be done by measuring the water flow rate and comparing it to the expected water usage. If the flow rate is higher than expected, it could indicate a leak. The data can be sent to the AWS IoT core and analyzed to identify patterns and take appropriate actions.
Step 7: Notify users to minimize water usage
Once the data is analyzed, the system can notify users through the Me-prototype to minimize water usage. This can be done through the use of push notifications or email alerts.
Components required

Taps
Flow sensors
Breadboard
Water pump
Ball valve
ESP32
L293D Motor driver
Silicon
Pipe fittings
Setting up AWS IoT Core
1. Go to AWS Management Console
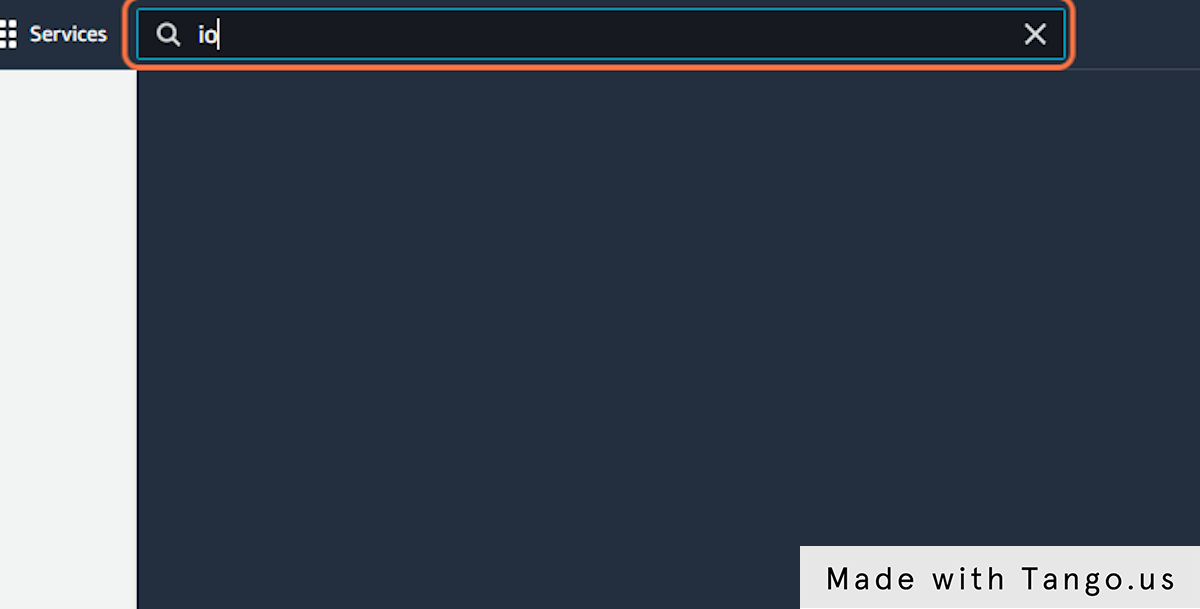
2. Type "iot"
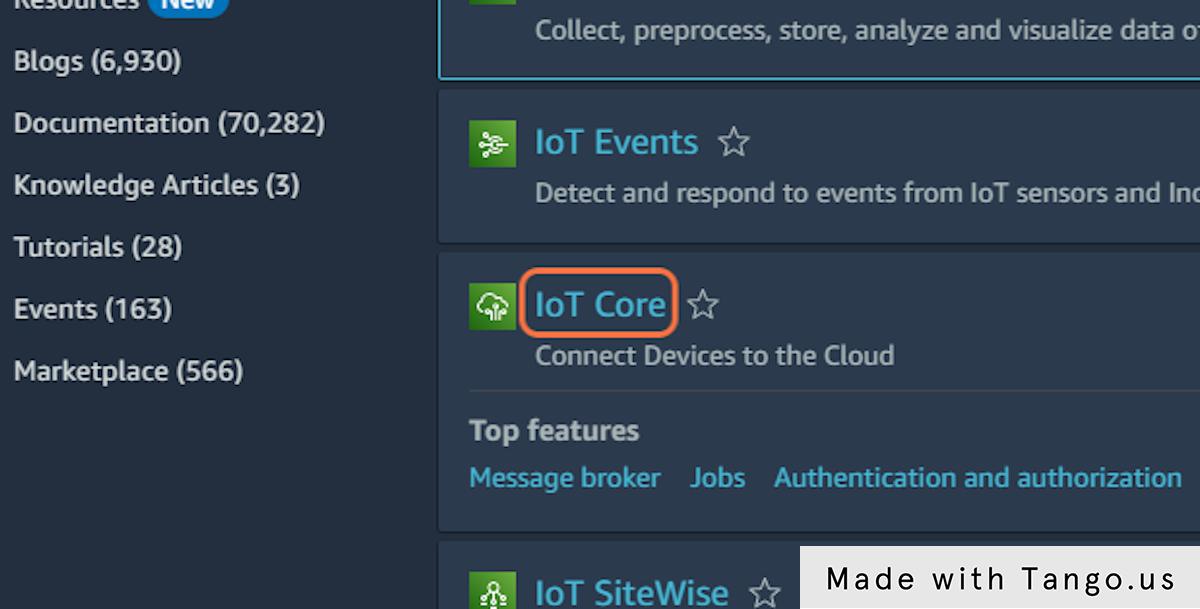
3. Click on IoT Core
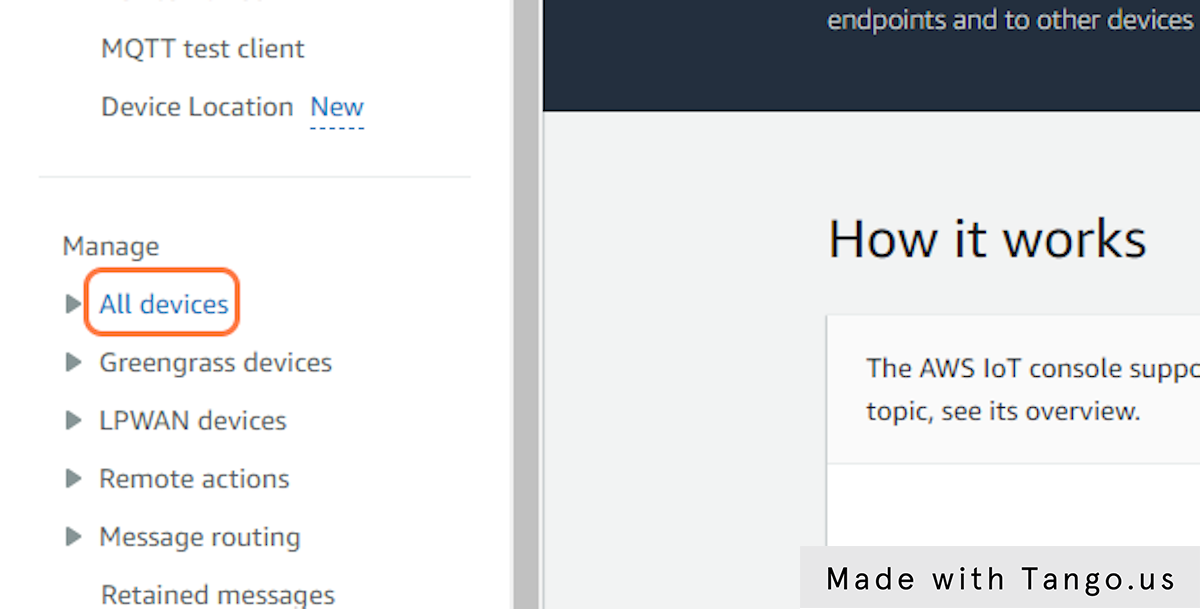
4. Click on All devices
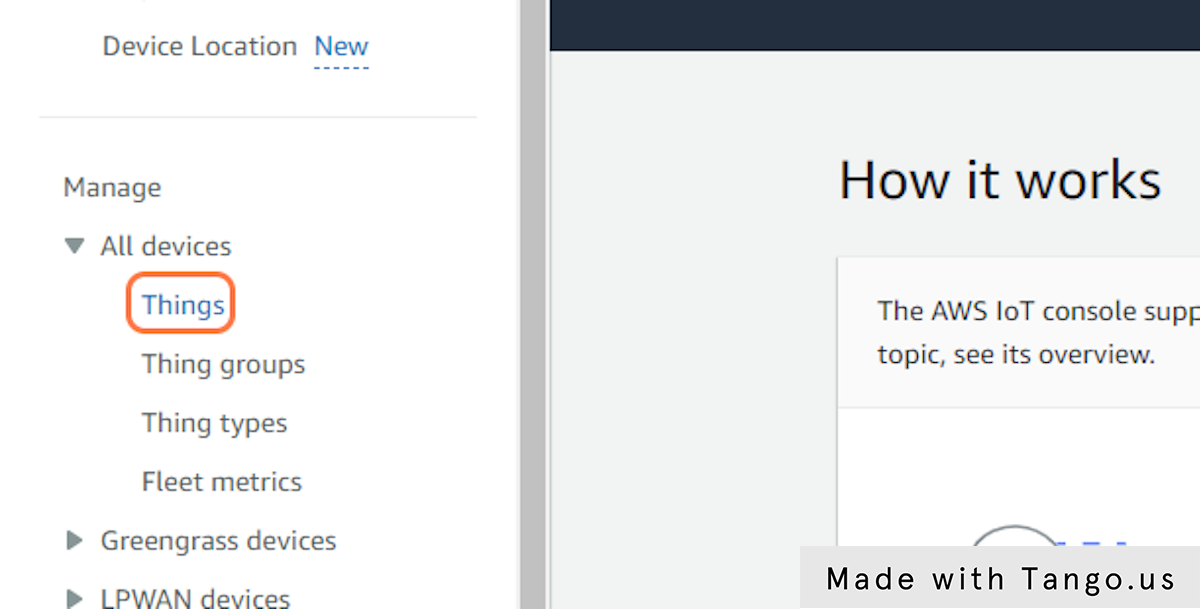
5. Click on Things
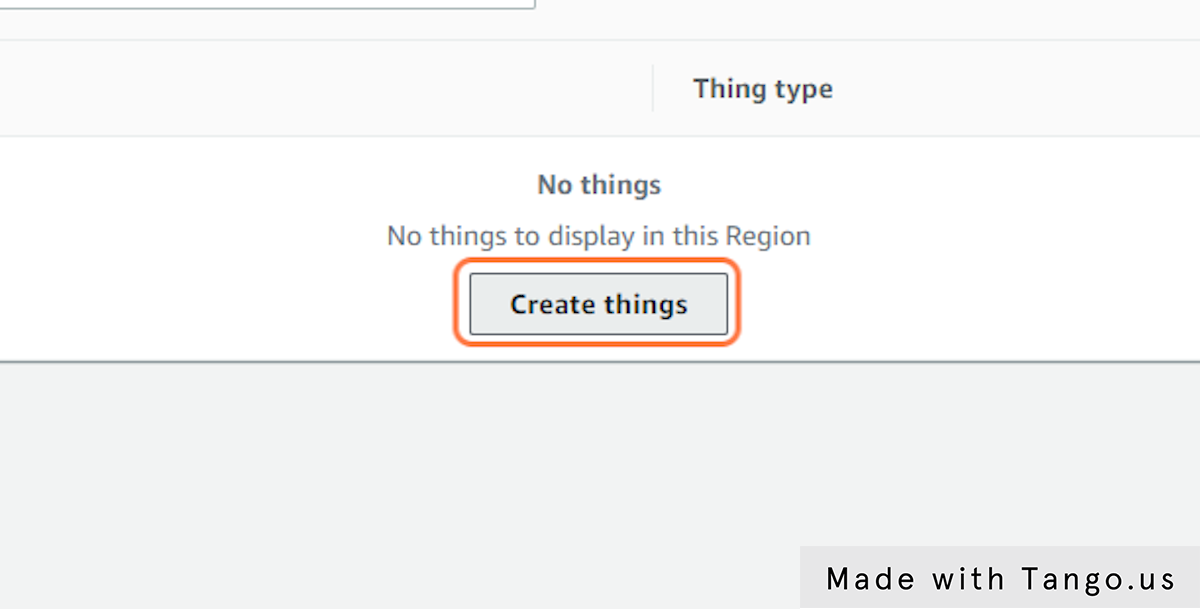
6. Click on Create things
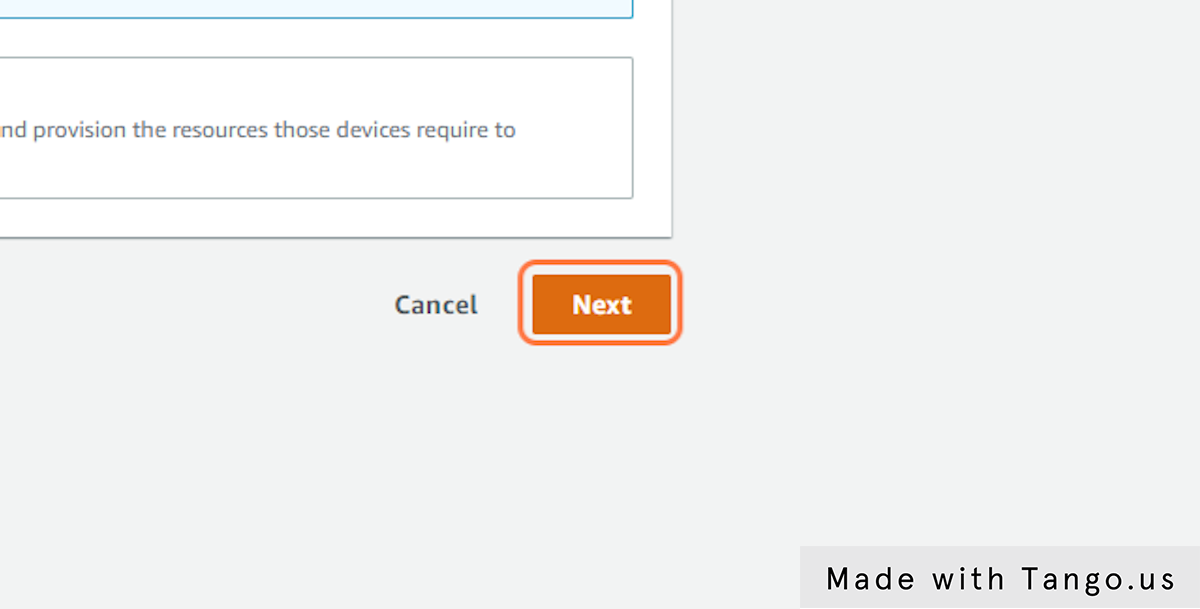
7. Click on Next
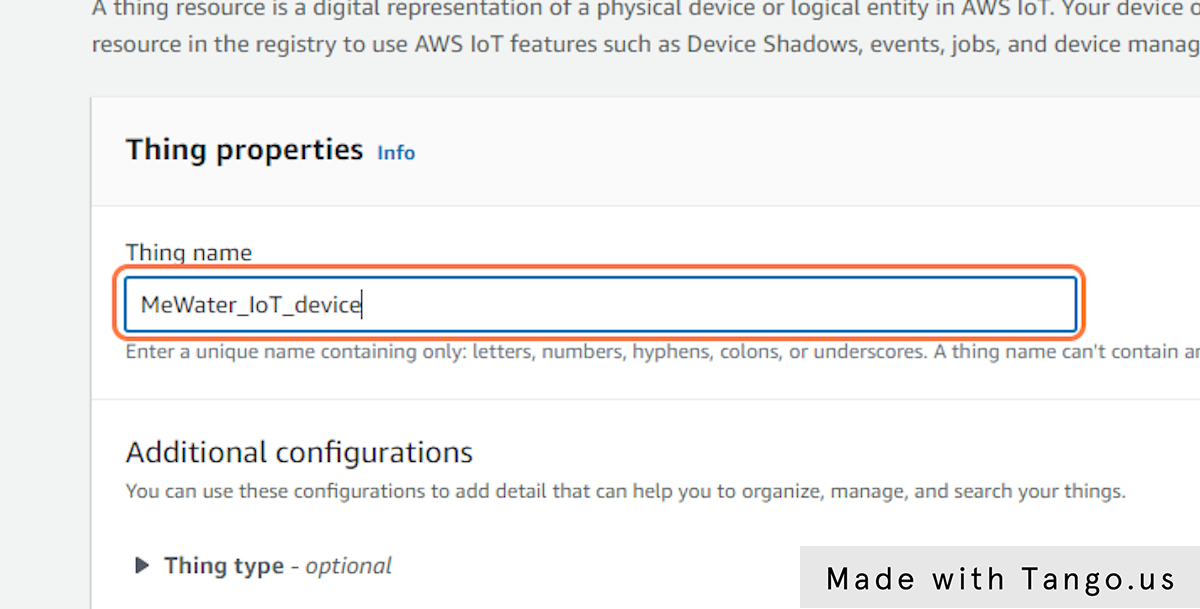
8. Type "MeWater_IoT_device"
9. Click on Next
10. Click on Next
11. Click on Create policy
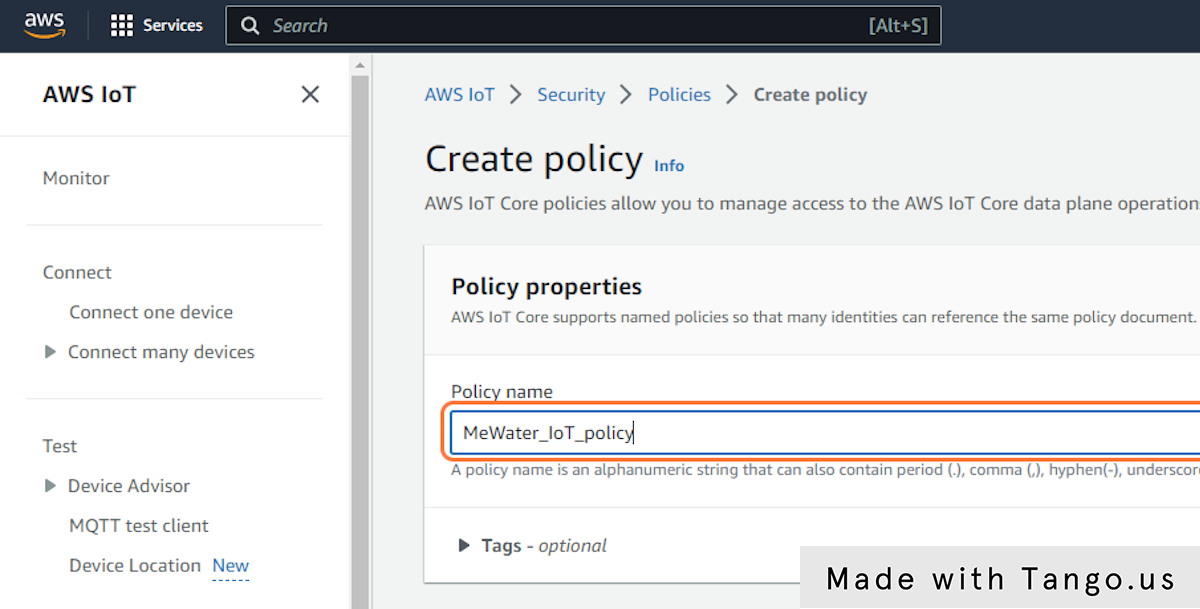
12. Type "MeWater_IoT_policy"
13. Click on Policy action
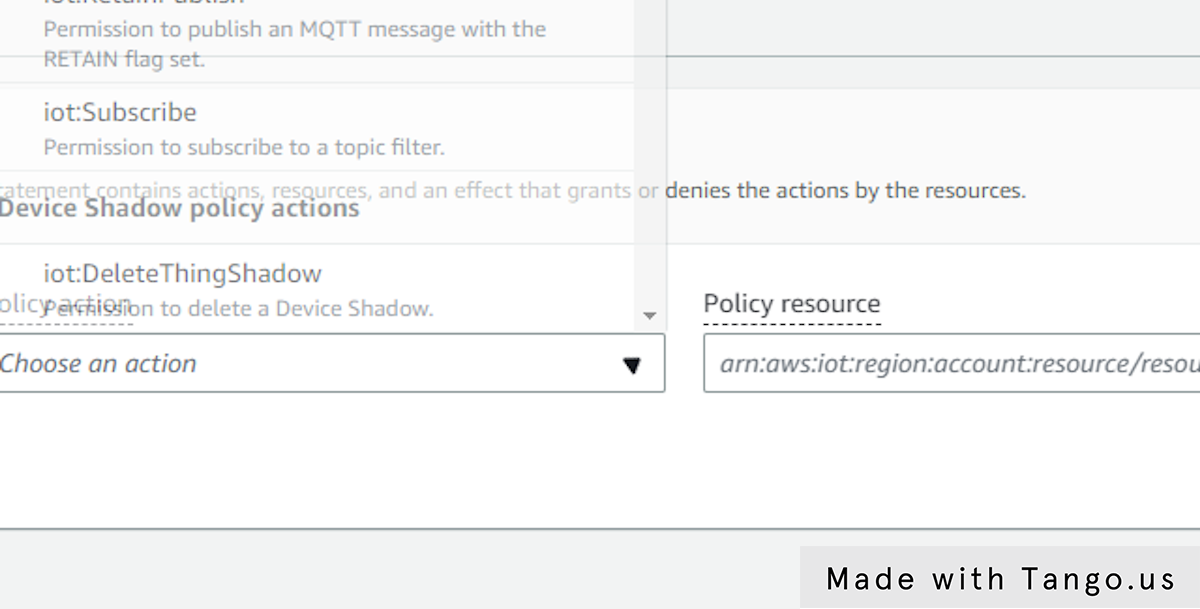
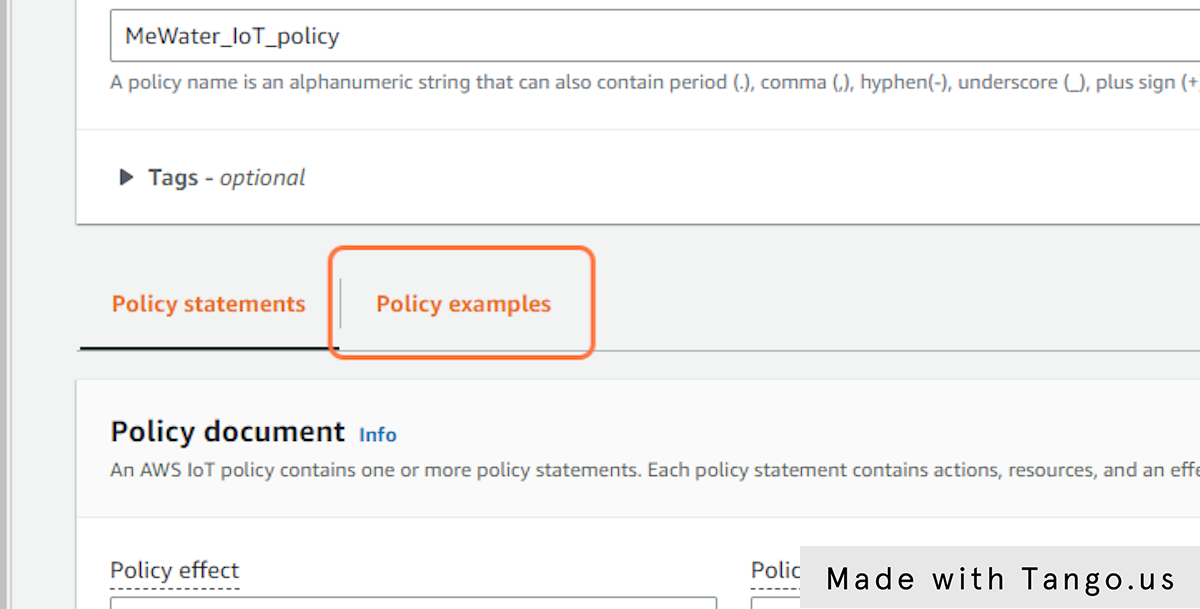
14. Click on Policy examples
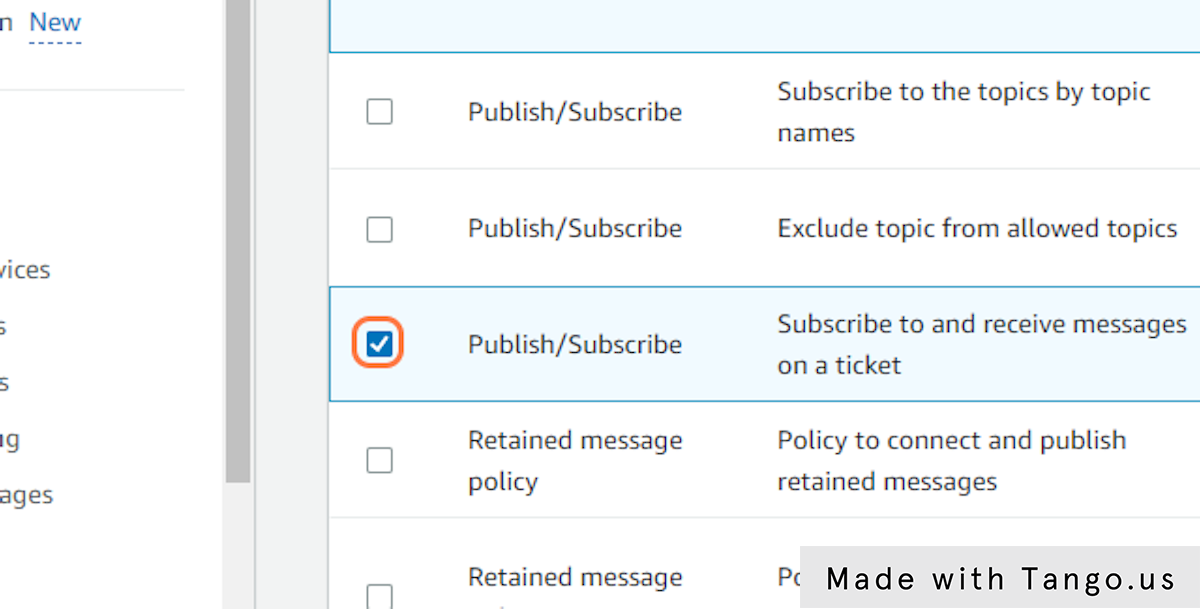
15. Check on
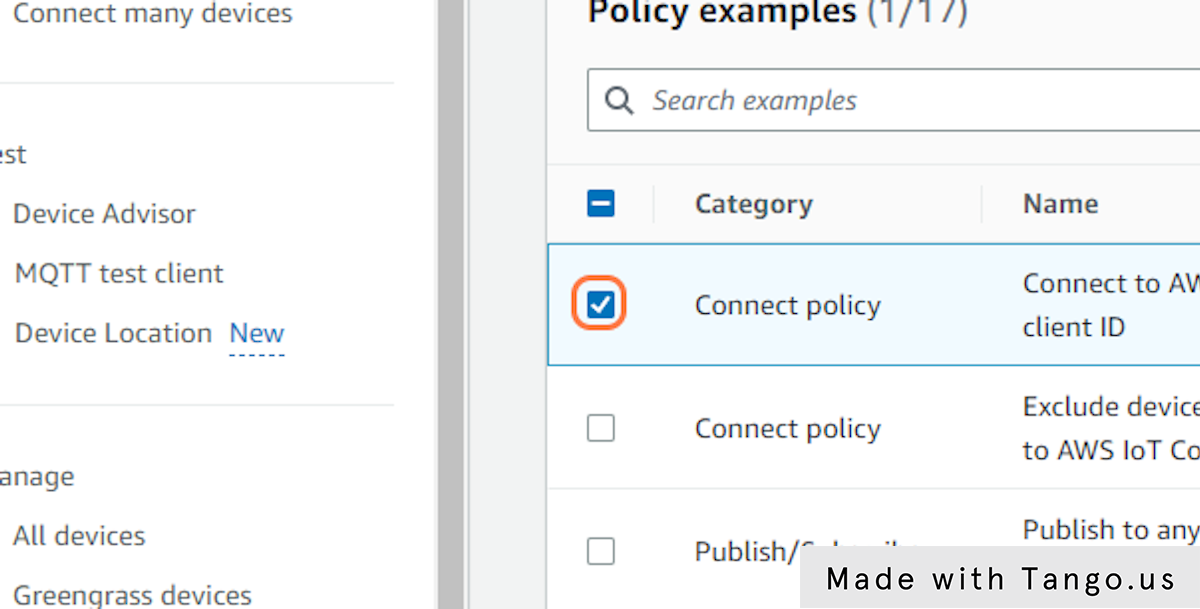
16. Check on
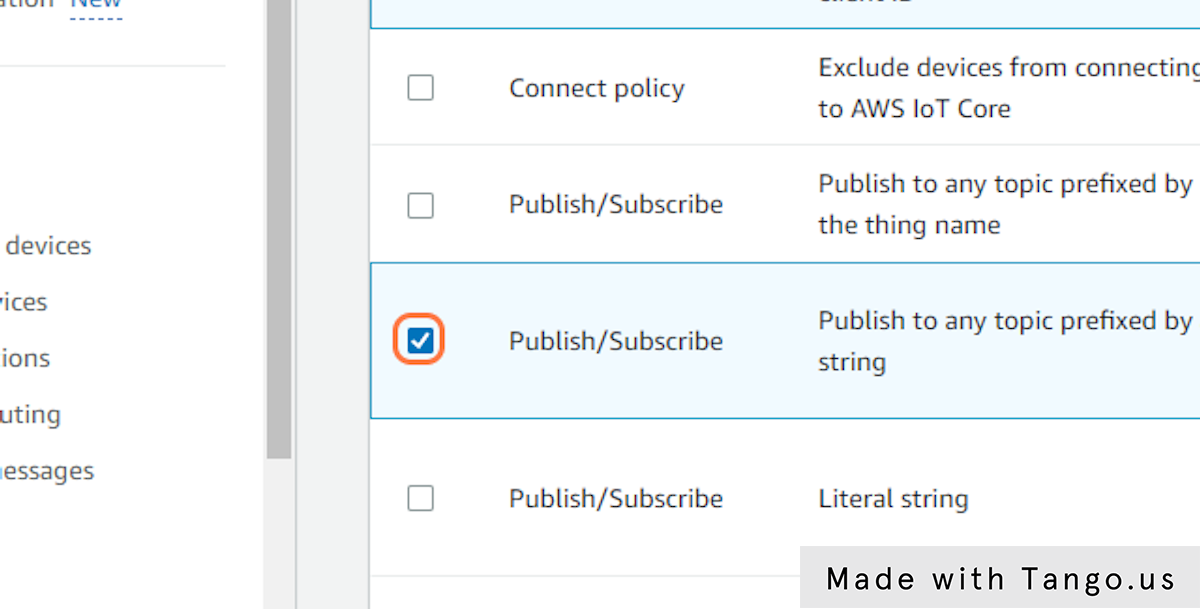
17. Check on
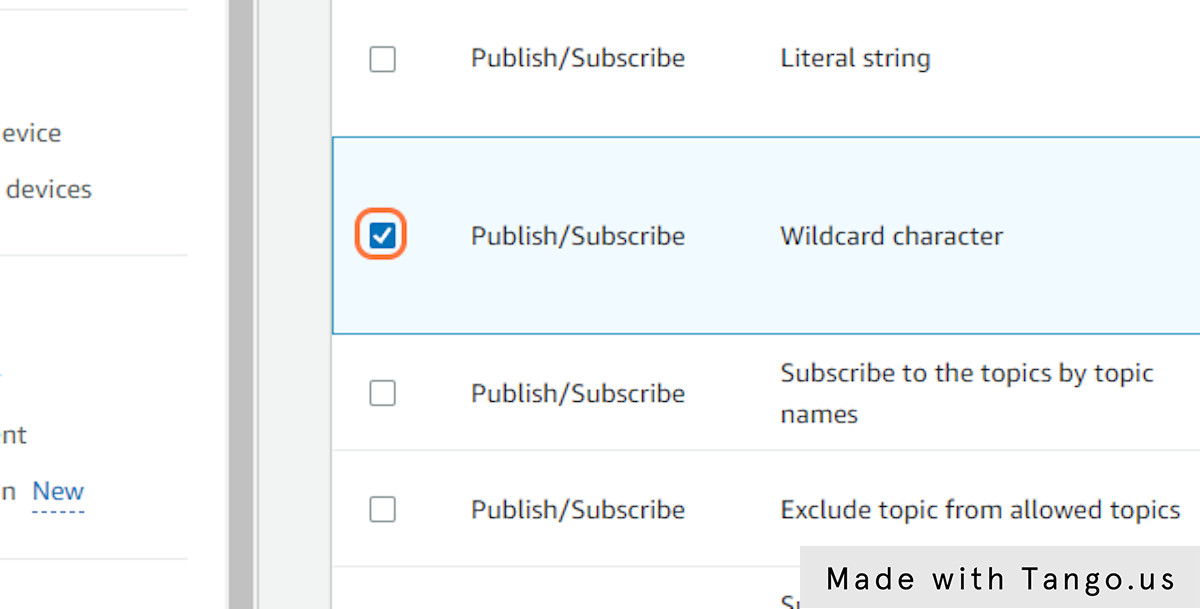
18. Check on
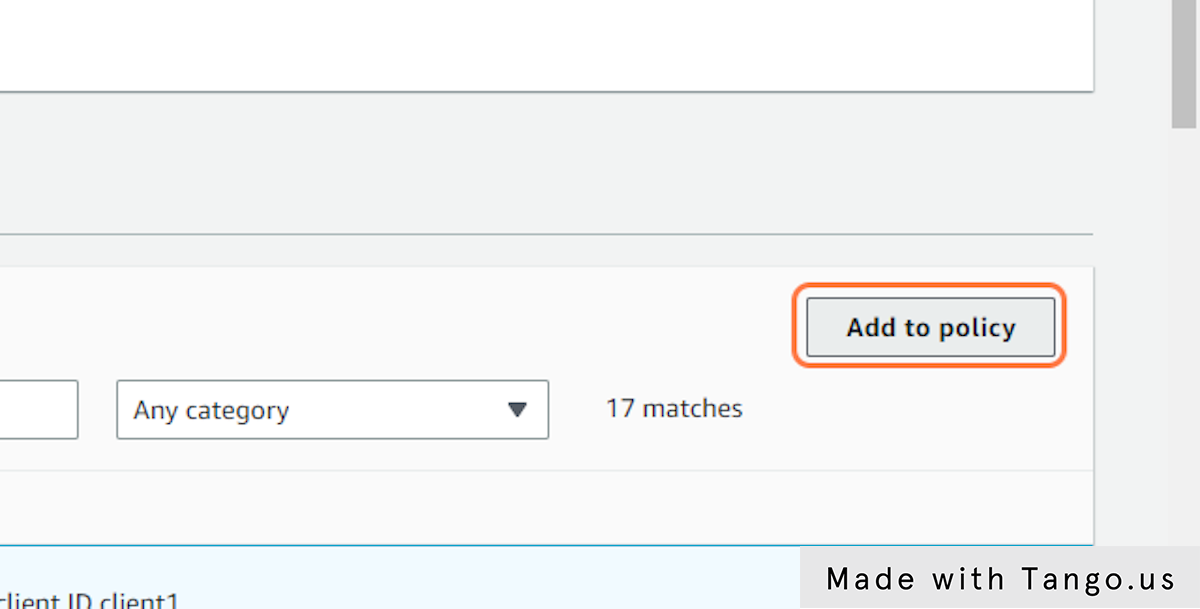
19. Click on Add to policy
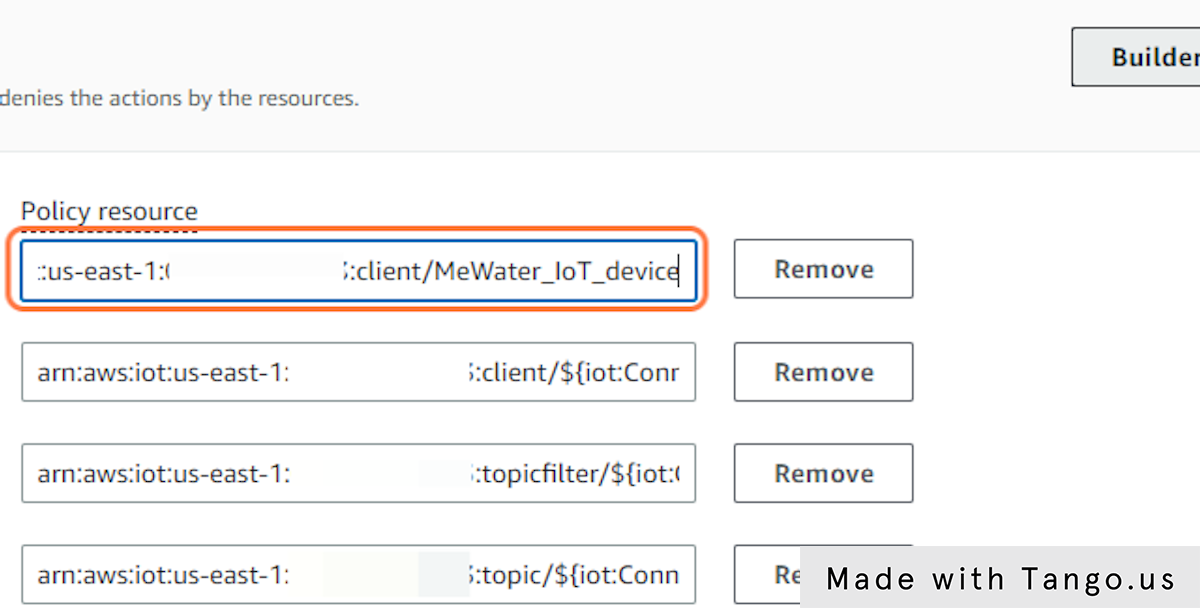
20. Type "arn:aws:iot:us-east-1:************:client/MeWater_IoT_device"
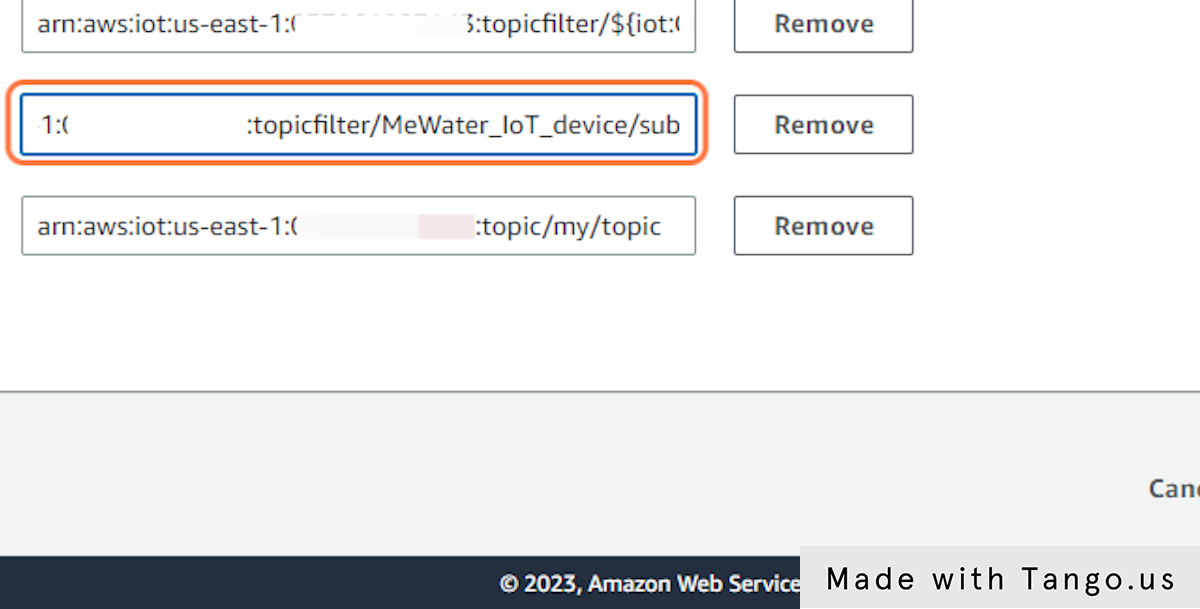
21. Type "arn:aws:iot:us-east-1:************:topicfilter/MeWater_IoT_device/sub"
22. Type "arn:aws:iot:us-east-1:************:topic/MeWater_IoT_device/sub"
23. Click on Add new statement
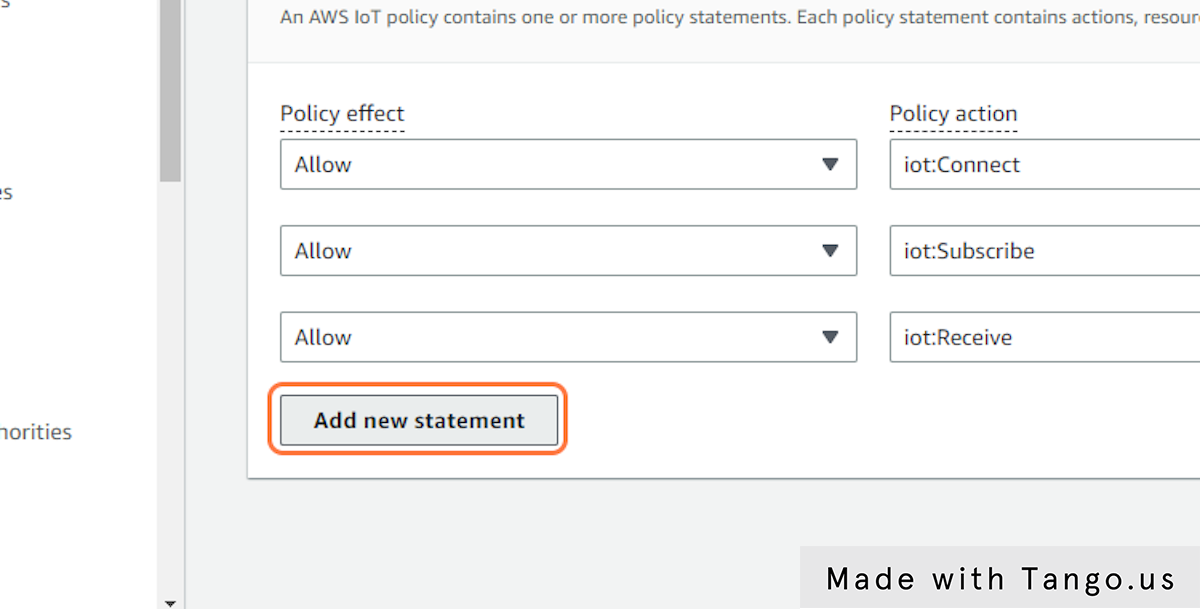
24. Click on Choose an action
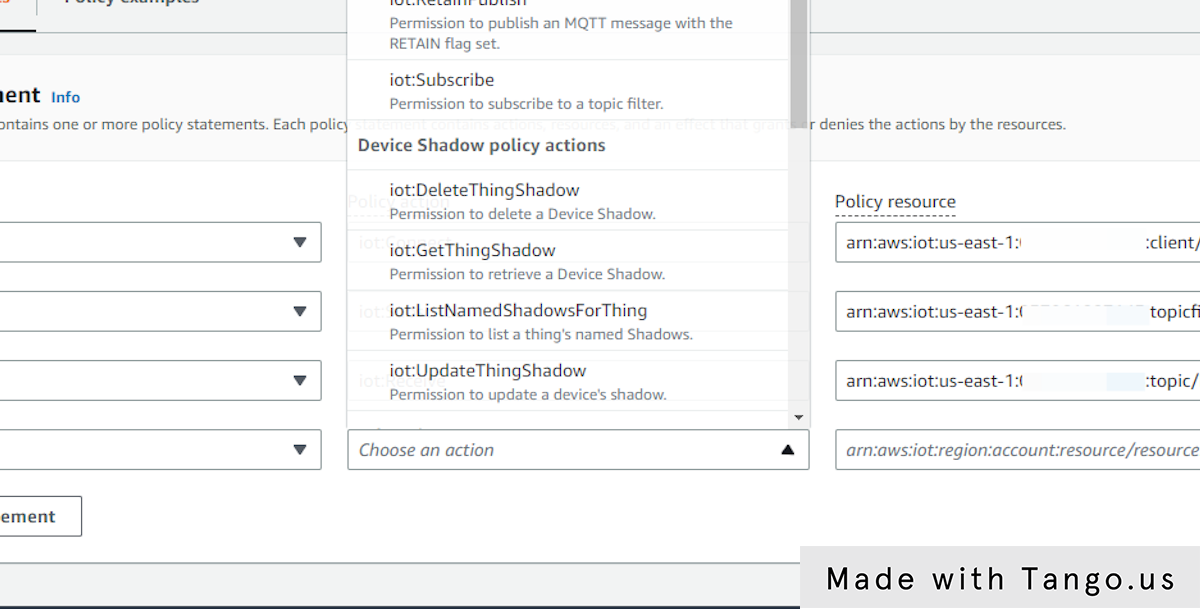
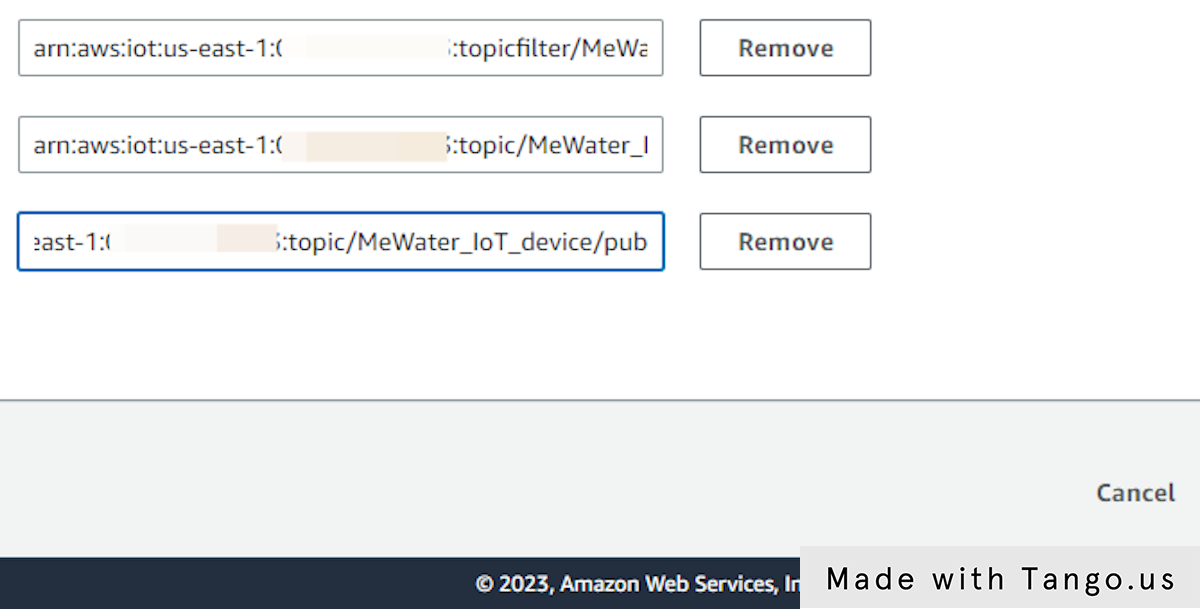
25. Type "arn:aws:iot:us-east-1:************:topic/MeWater_IoT_device/pub"
26. Drag highlighted element
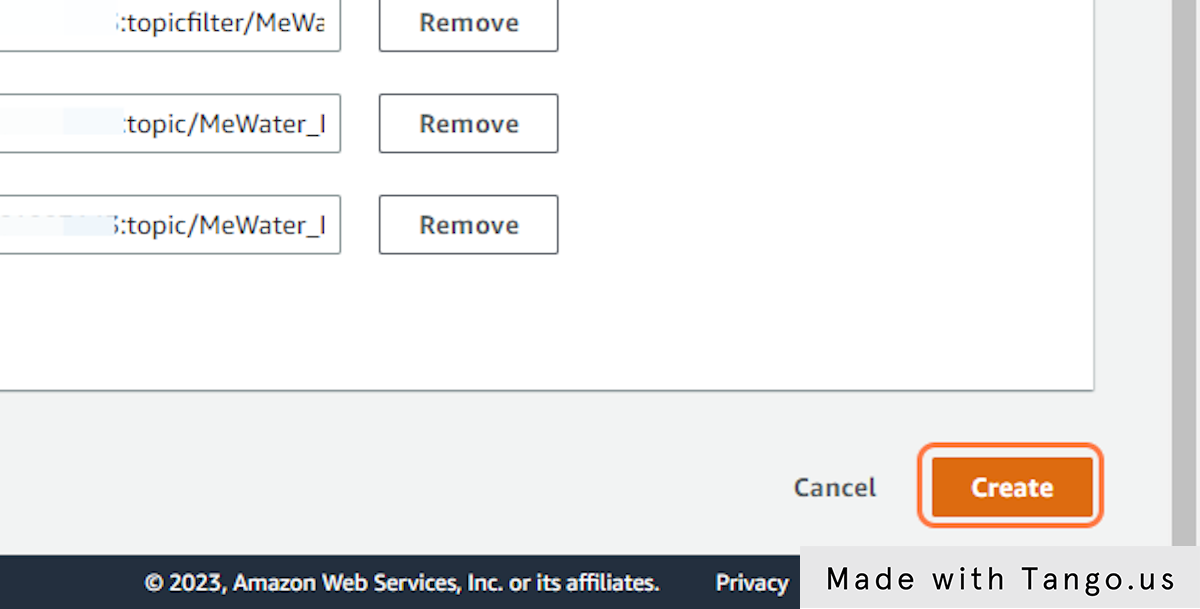
27. Click on Create
28. Check table
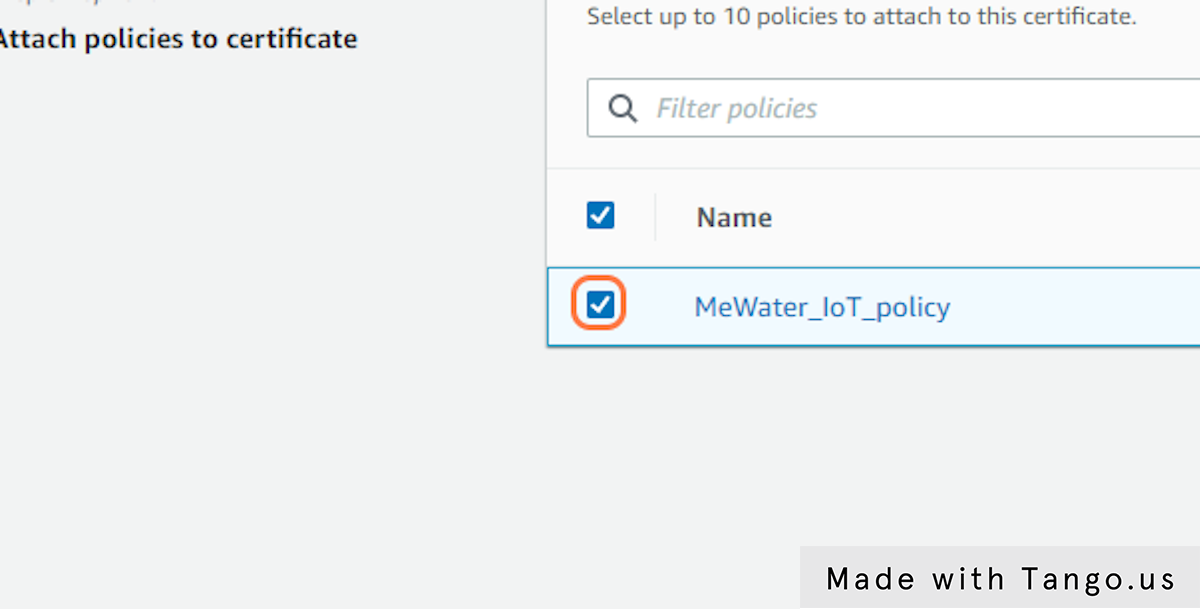
29. Click on Create thing
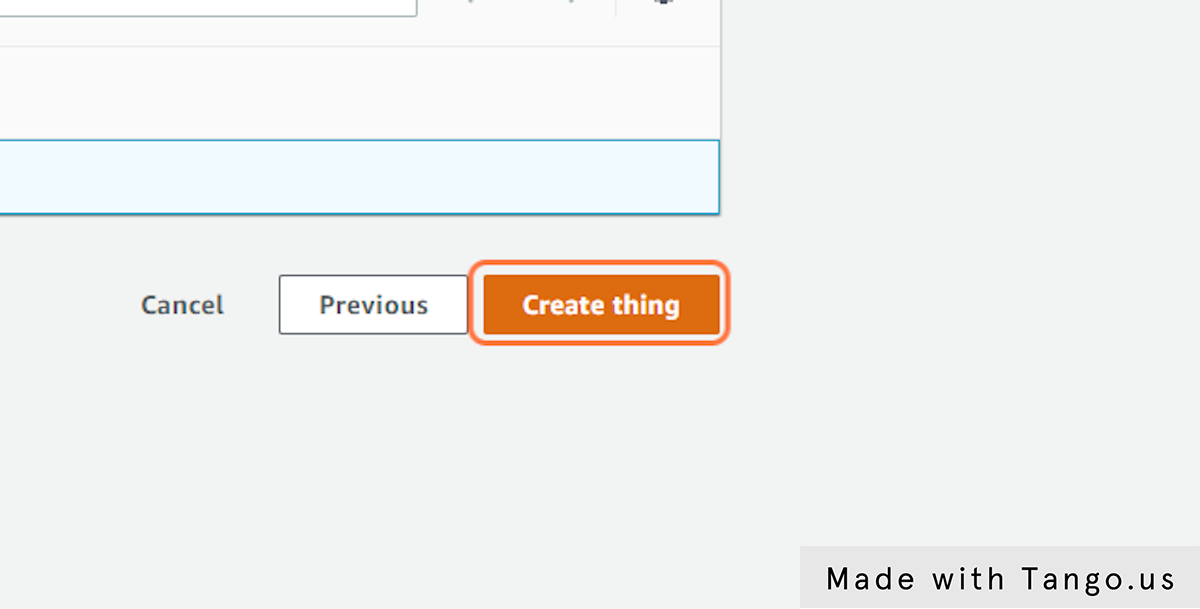
30. Click on Download
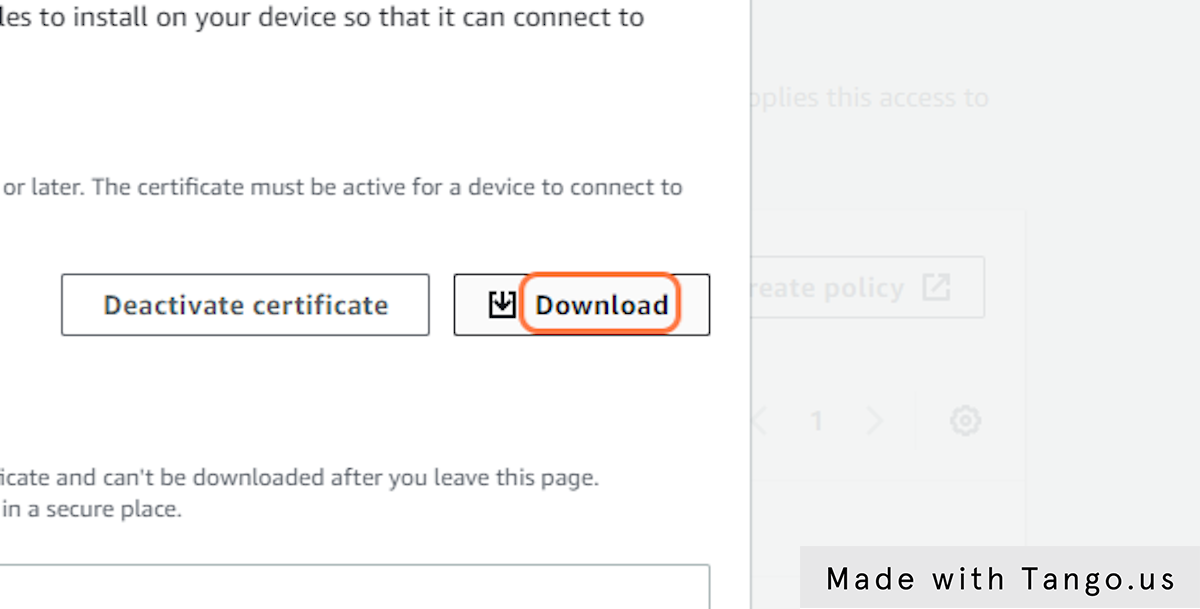
31. Click on Download
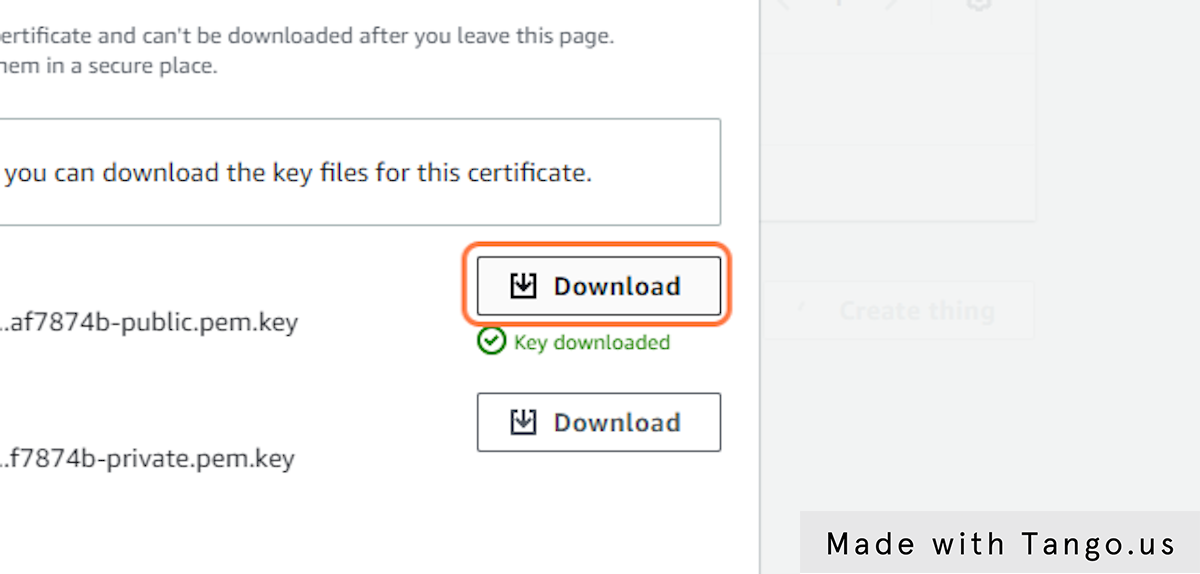
32. Click on Download
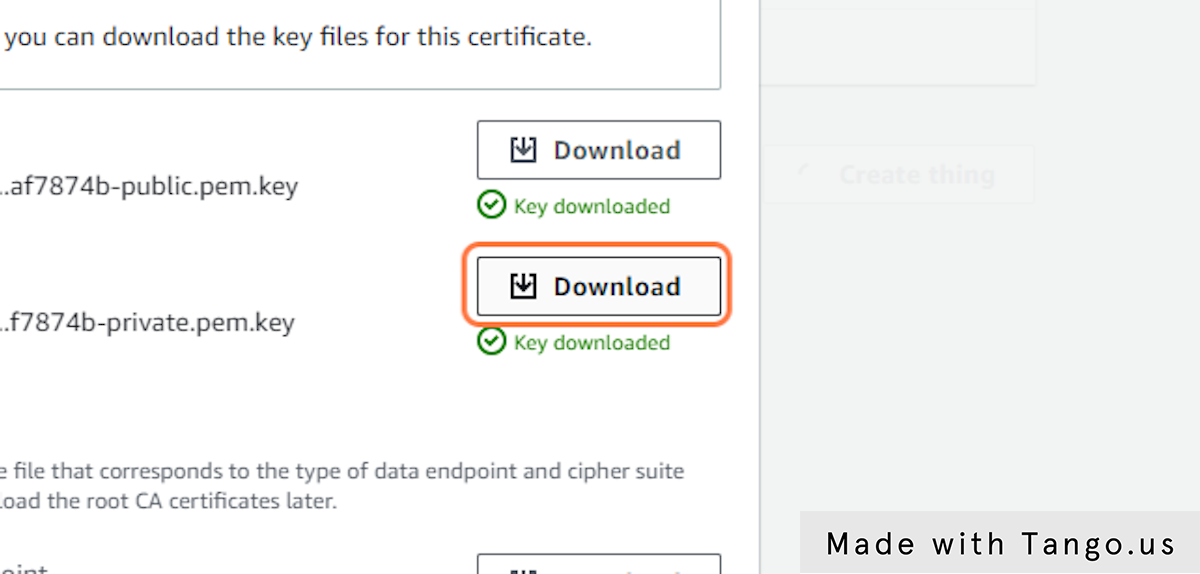
33. Click on Download
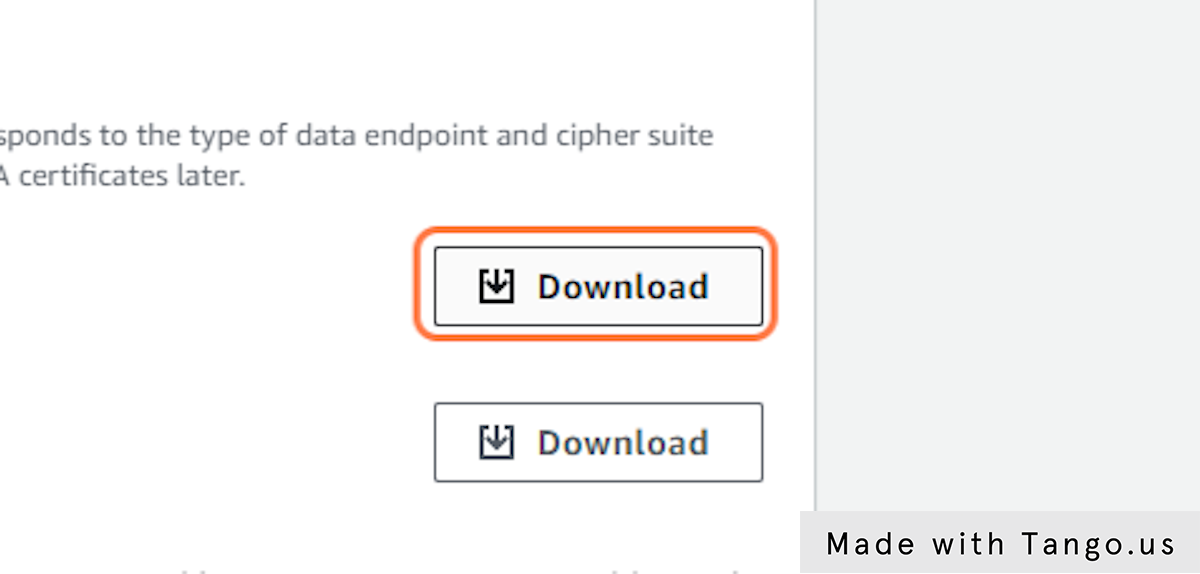
34. Drag highlighted element
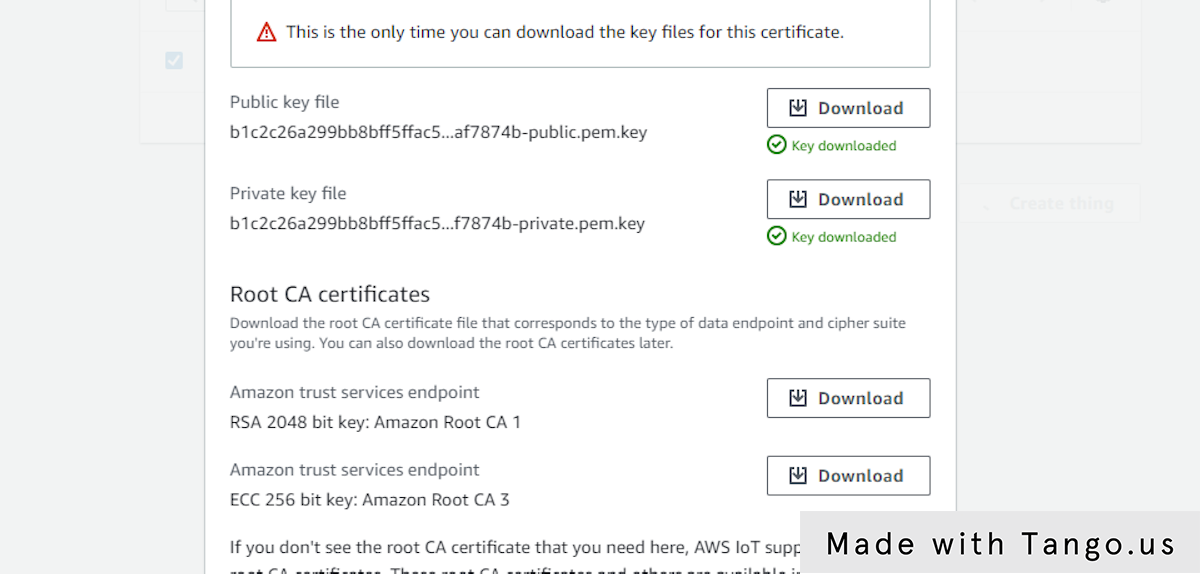
35. Click on Done
36. Click on Things
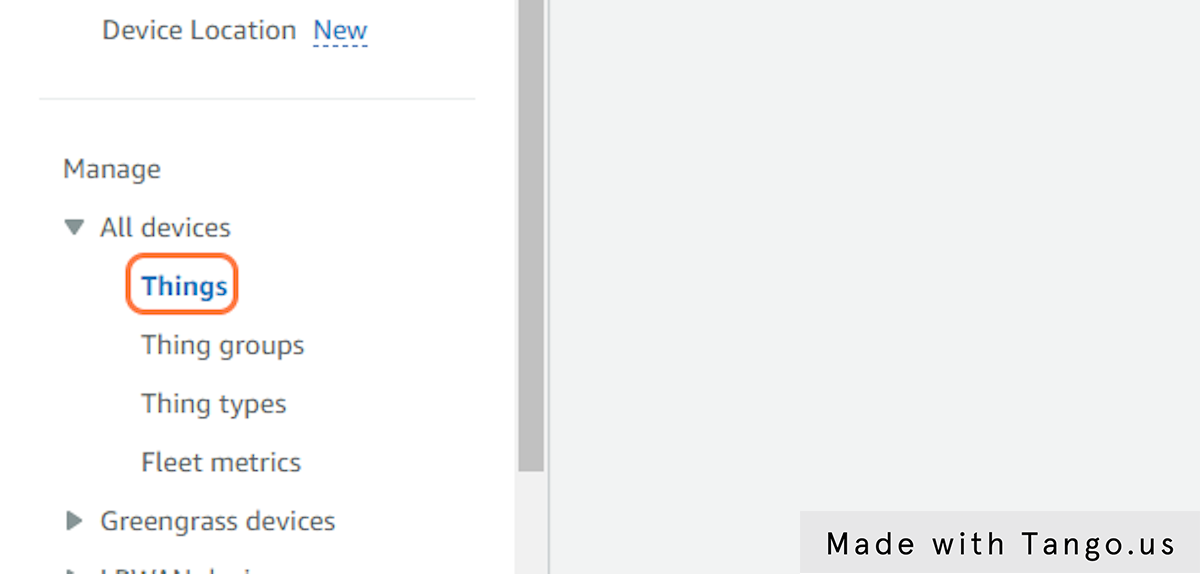
37. Click on table
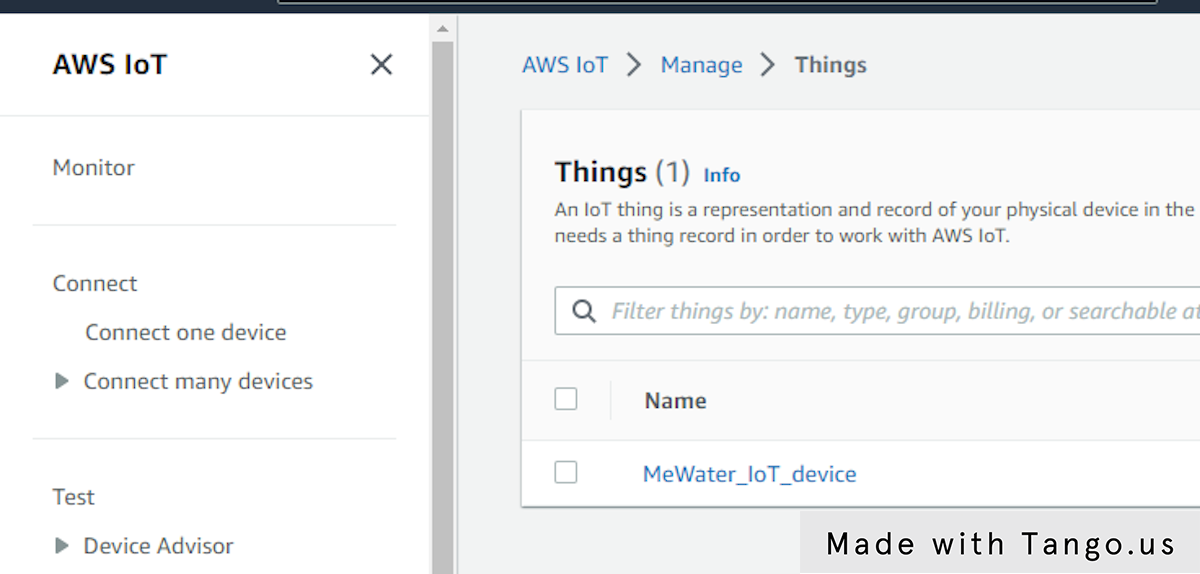
38. Click on MeWater_IoT_device
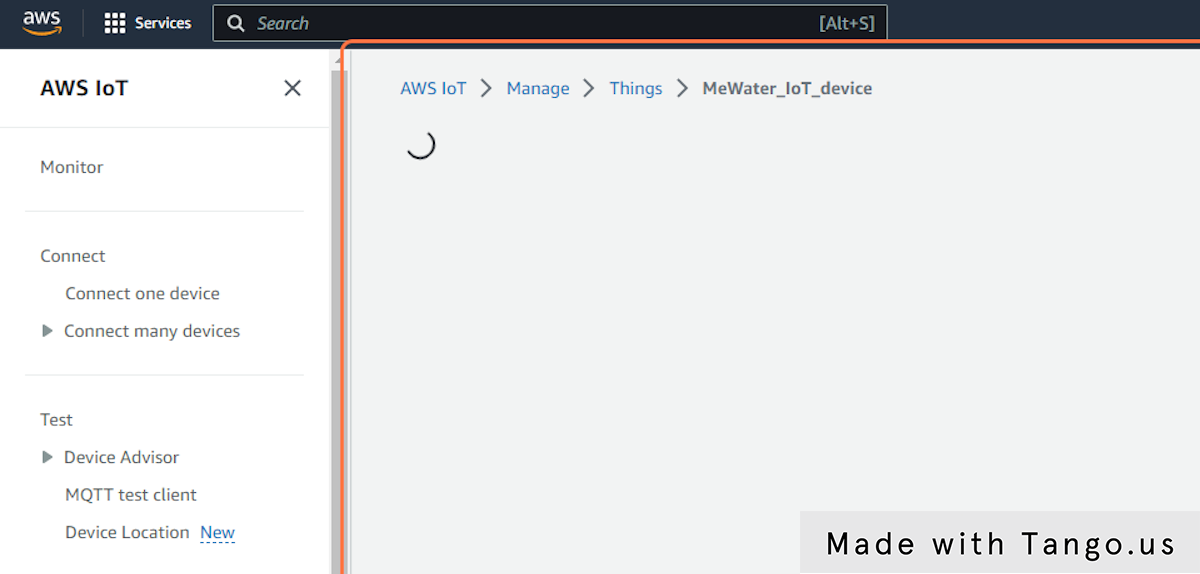
39. Click on Settings
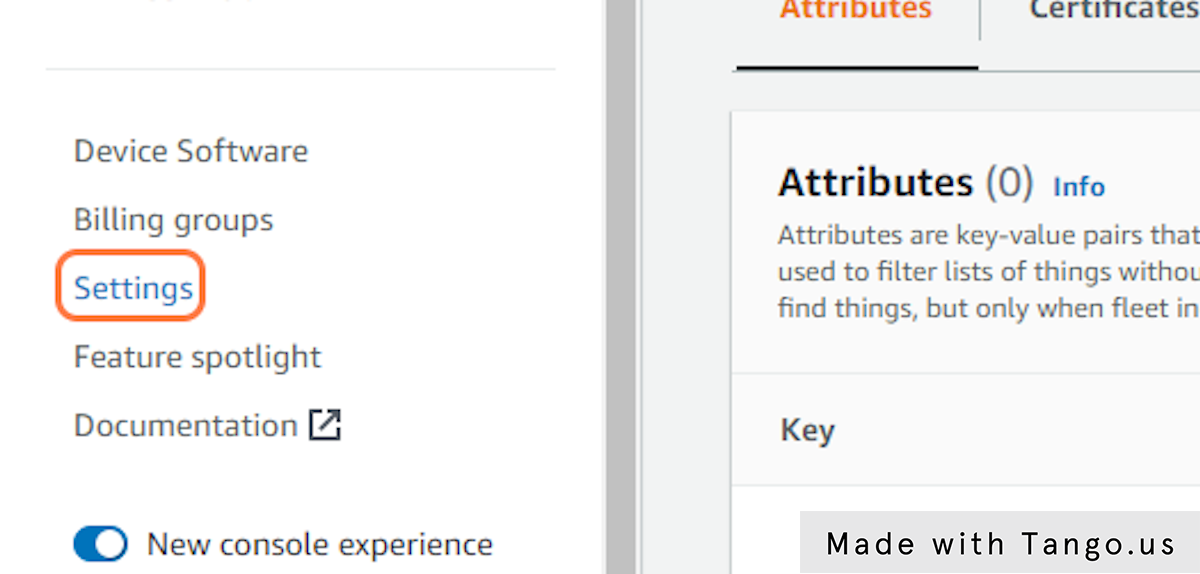
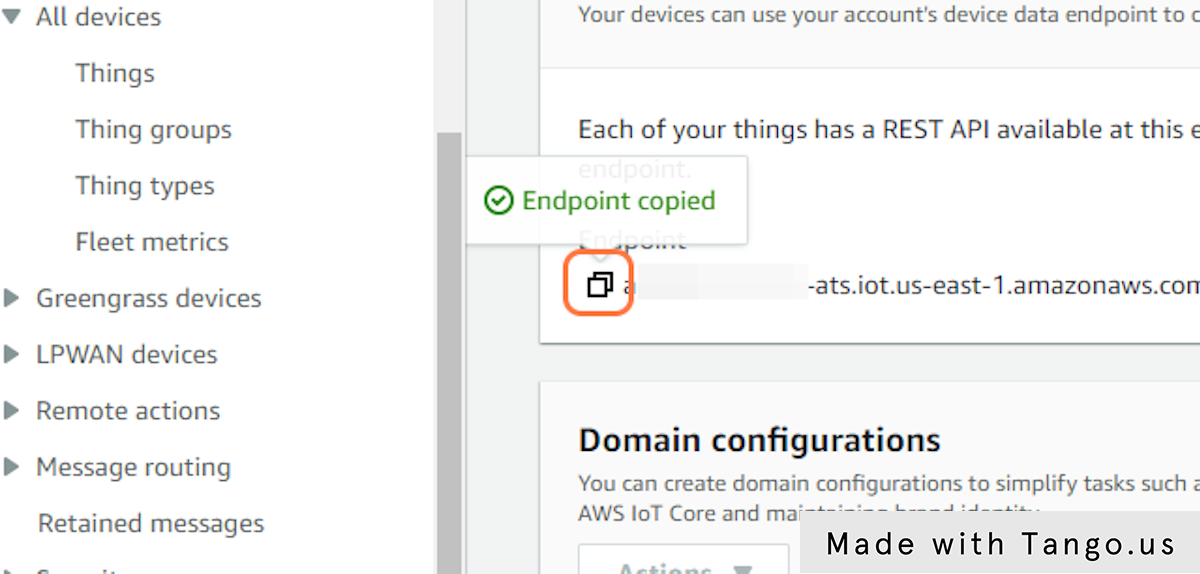
40. Click on Copy endpoint
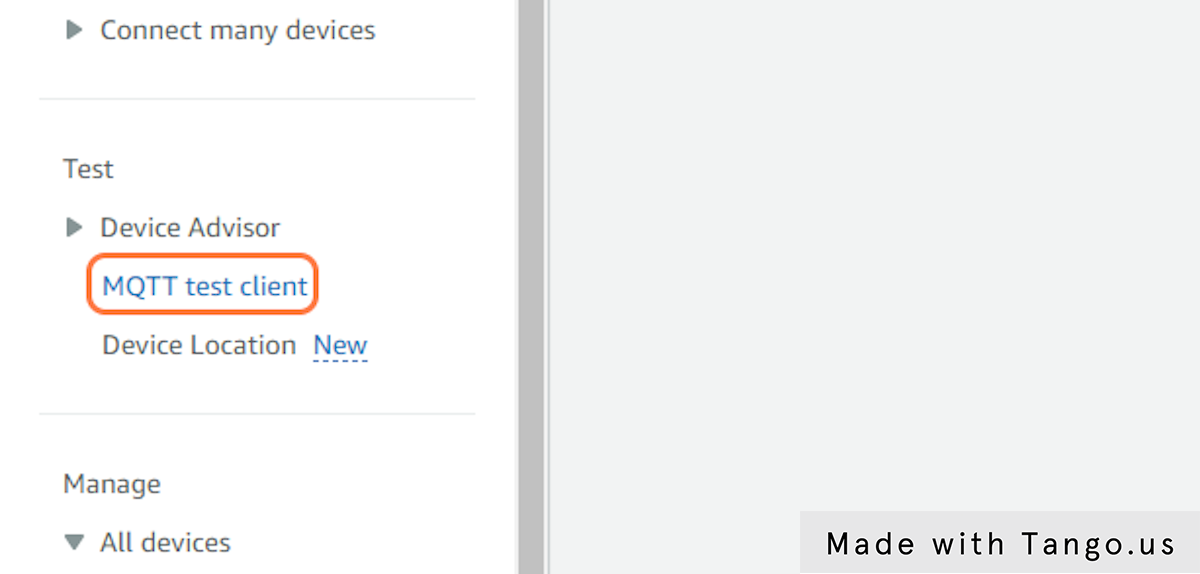
41. Click on MQTT test client
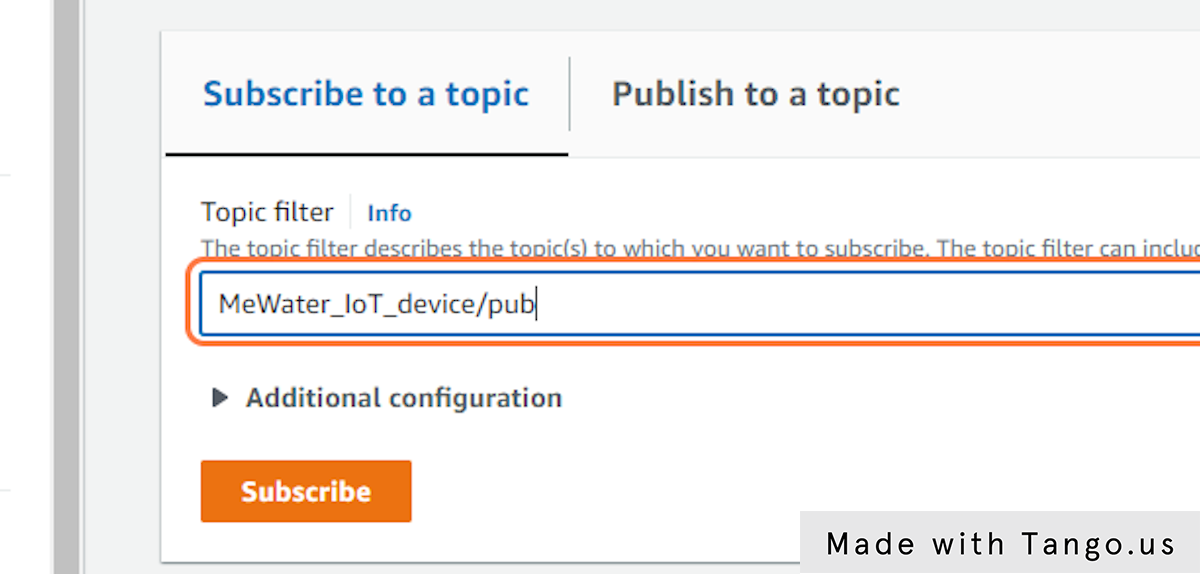
42. Click on Topic filter
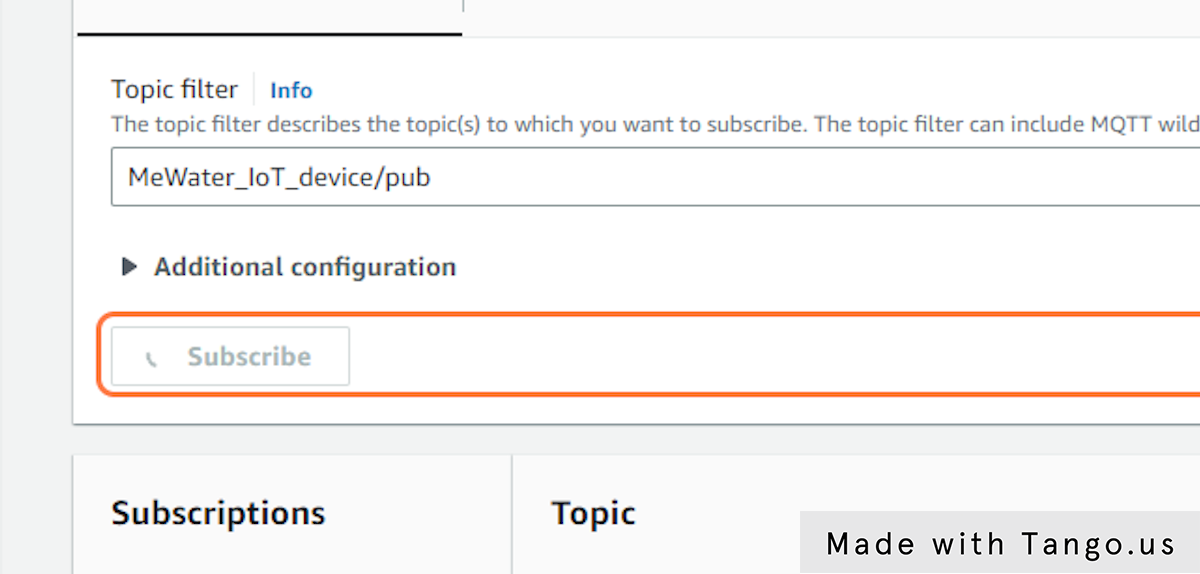
43. Click on Subscribe
44. Click on MeWater_IoT_device/pub
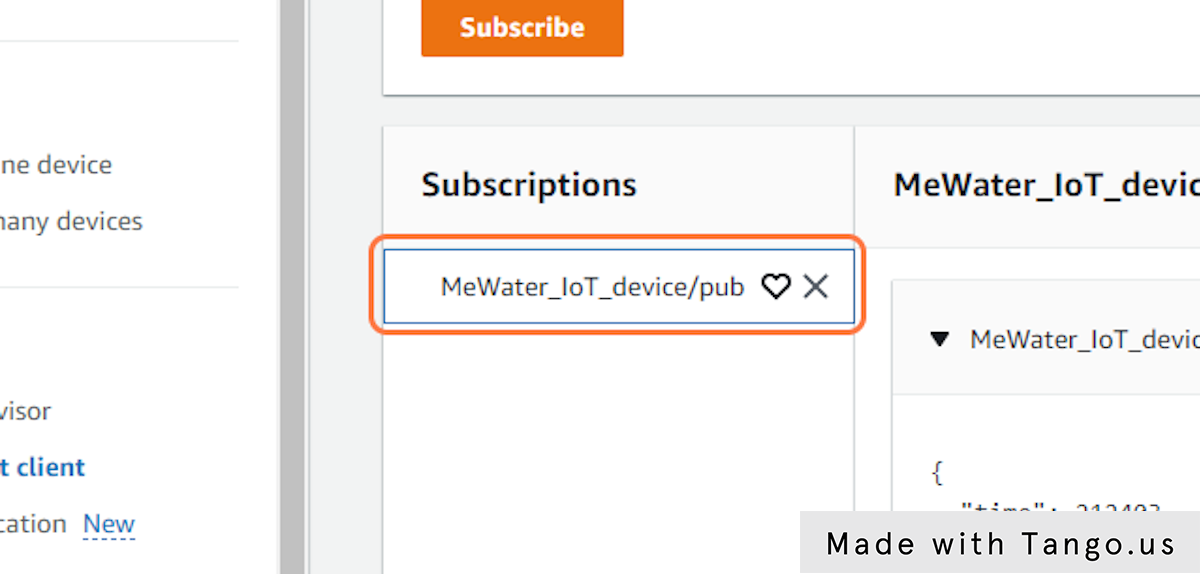
45. Click on MeWater_IoT_device/pub…
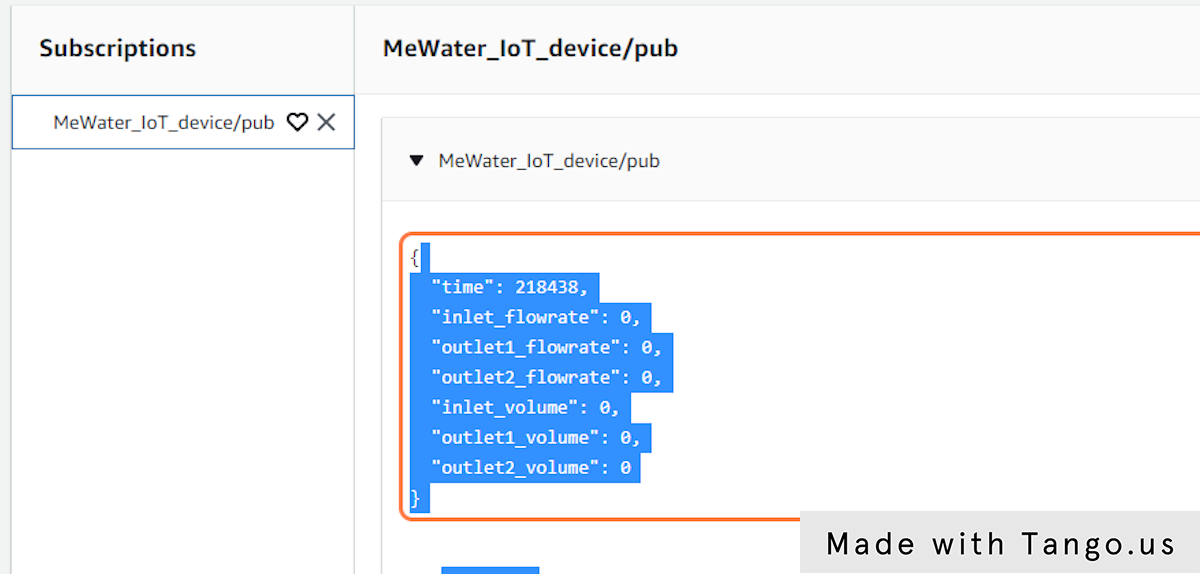
46. Click on MeWater_IoT_device/pub…
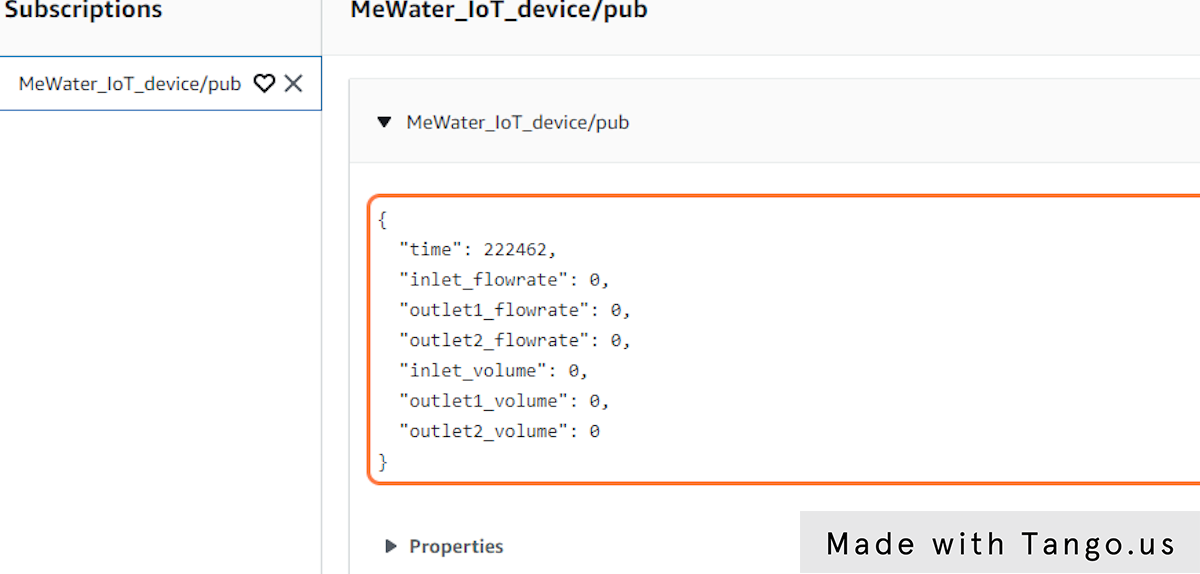
Arduino Sketch
The Arduino sketch and other files can be found by clicking on the GitHub link below.
By implementing the MeWater project, we can effectively monitor water consumption and detect leakages in real-time, allowing us to take immediate action to minimize water usage. This not only saves water but also reduces energy consumption, as less water needs to be pumped and treated. The project is built on AWS IoT core which is a fully managed service that makes it easy to connect, secure, and manage IoT devices at scale. Using ESP32 as the microcontroller for the IoT devices makes the project low-power and easy to program. With the MeWater project, we can make a significant impact on water conservation and ensure that we have enough water for future generations.
In the next article, we'll cover how to send the data received by IoT Core to an S3 bucket.
Stay tuned for more!
