

This blog post will guide you through connecting your Raspberry Pi 4 to AWS IoT Core using MQTT protocol. We'll implement the communication in C# on the Raspberry Pi.
Prerequisites:
Raspberry Pi 4 with internet access
AWS account with AWS IoT Core service enabled
Basic understanding of C# and .NET
Setting Up AWS IoT Core
- Create and AWS IoT Thing: Login to your AWS account and navigate to the IoT Core service. Create a new "Thing" that represents your Raspberry Pi. This will provide a unique identifier for your device.
1. Type "IoT Core"

2. Click on IoT Core

3. Click on All devices
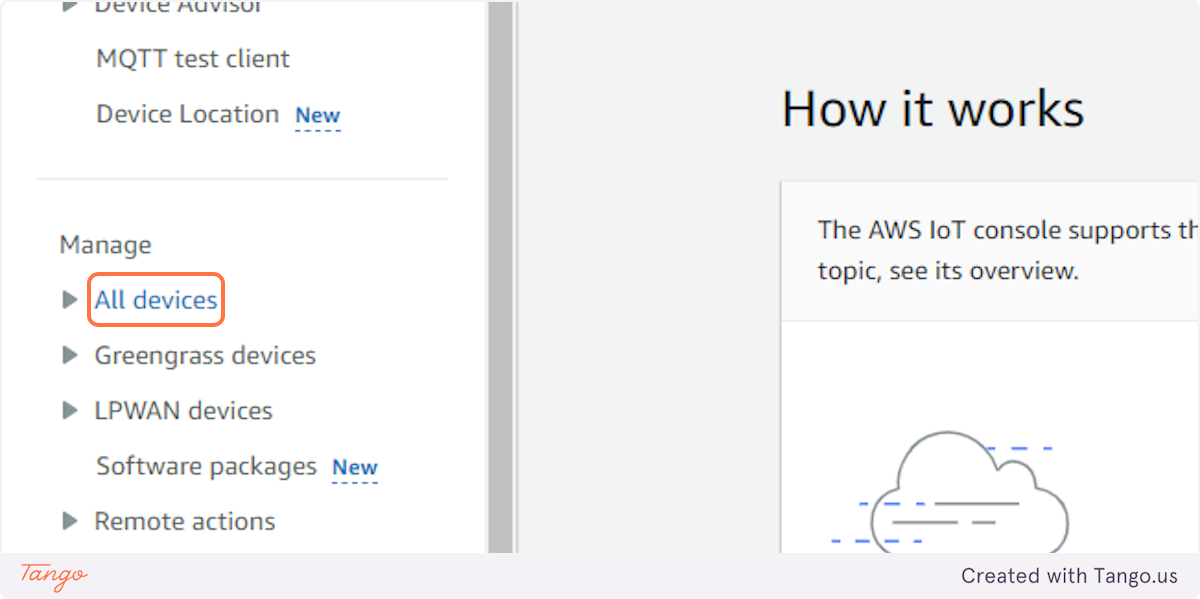
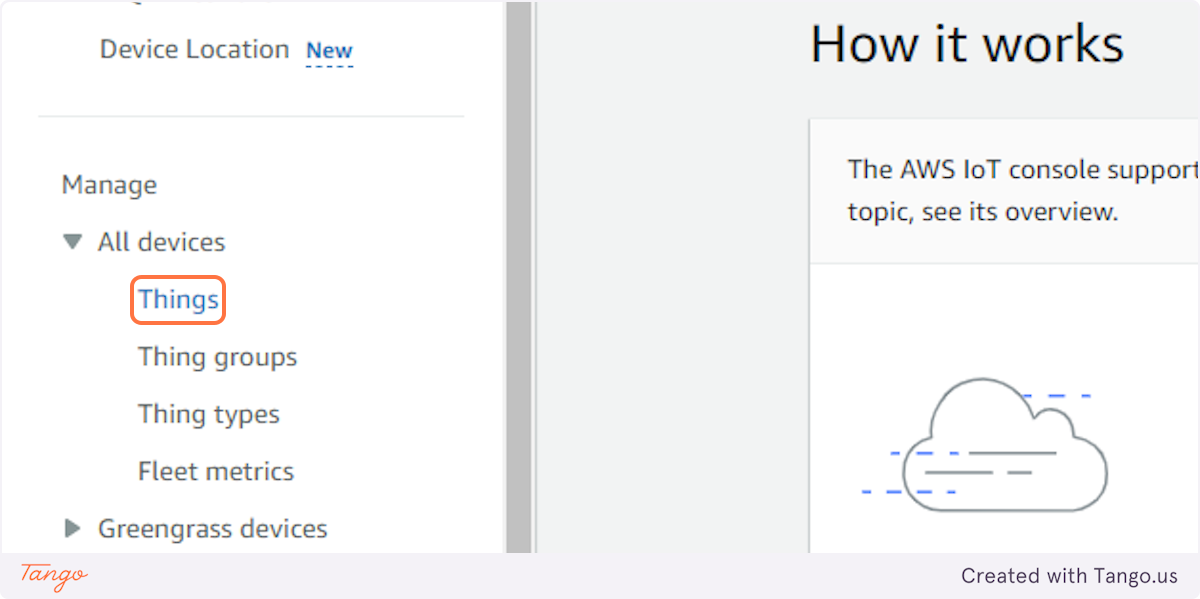
4. Click on Things
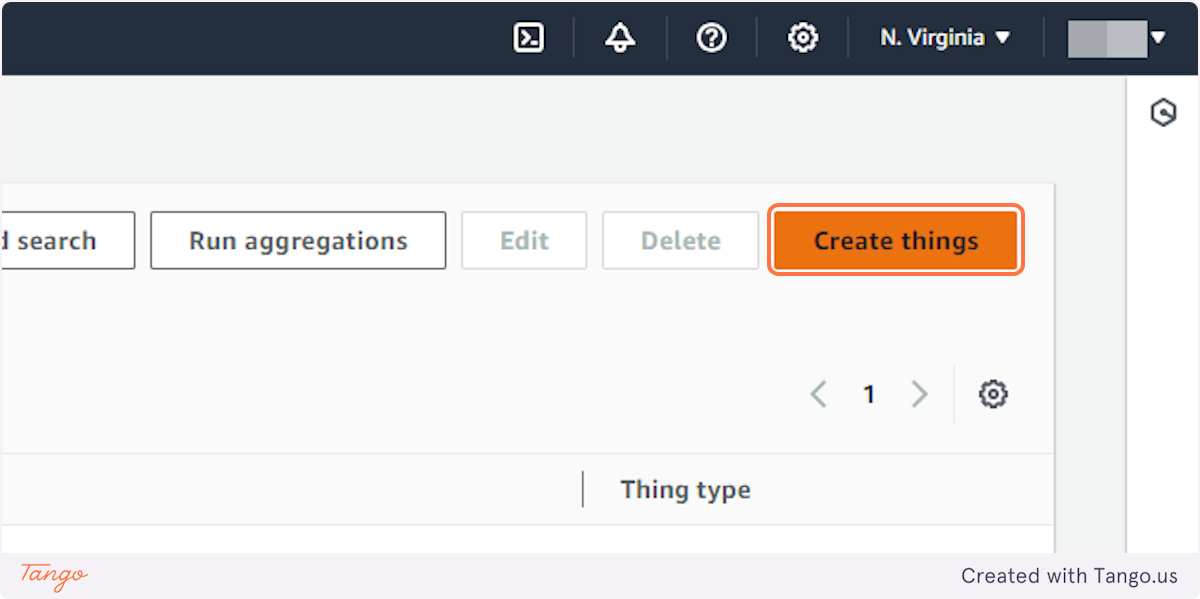
5. Click on Create things
6. Click on Create single thing…
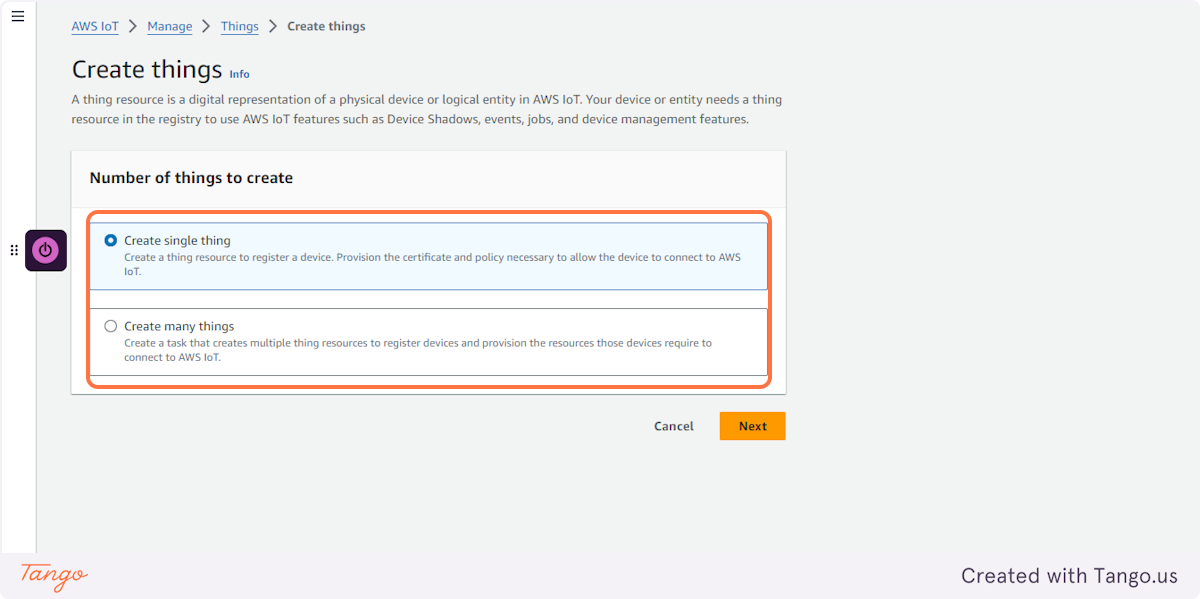
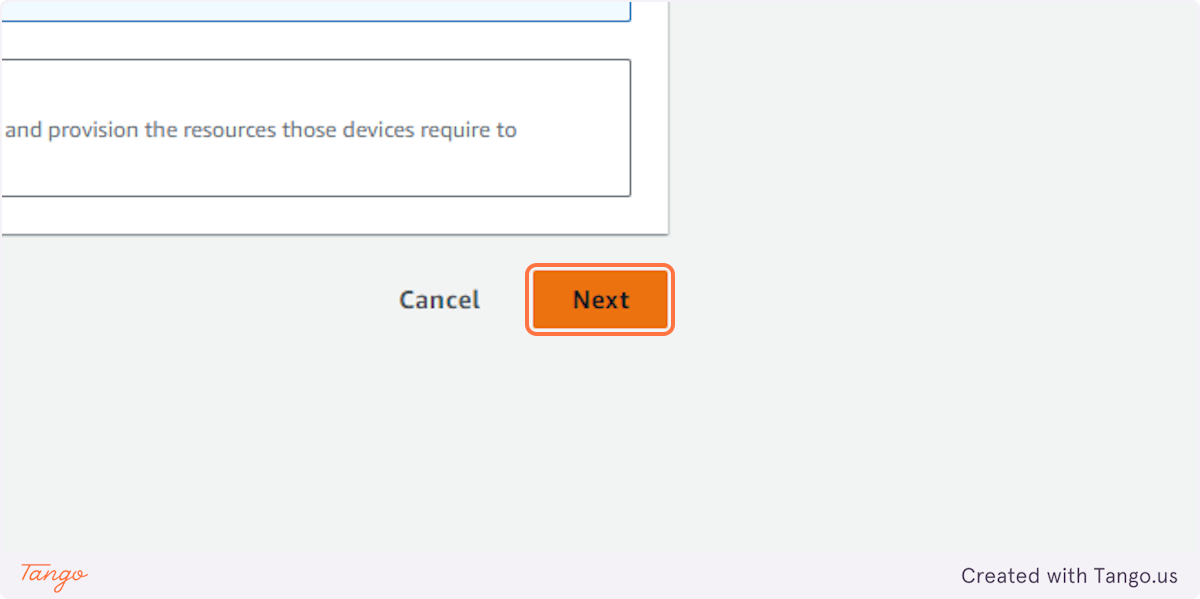
7. Click on Next
8. Type "RaspberryPi4"

9. Click on Next
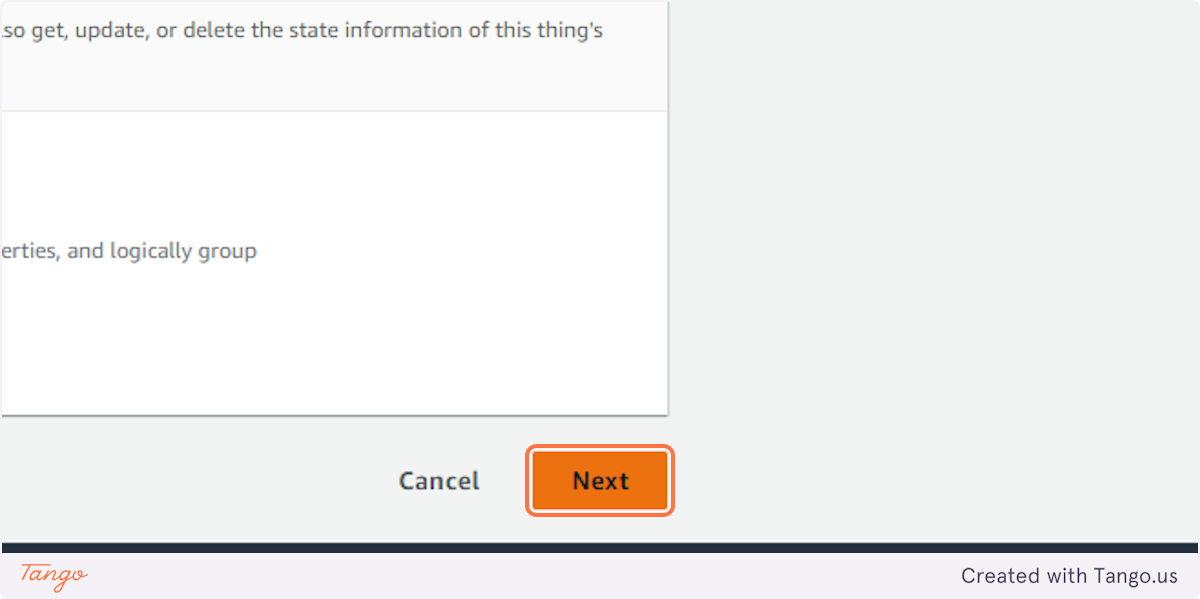
10. Click on Next
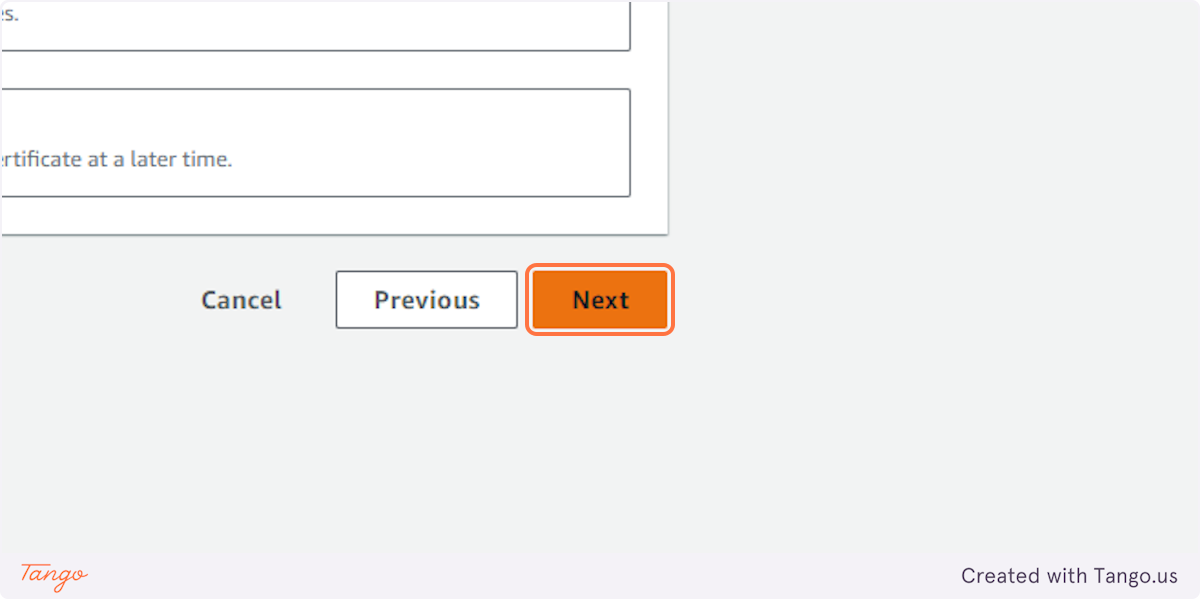
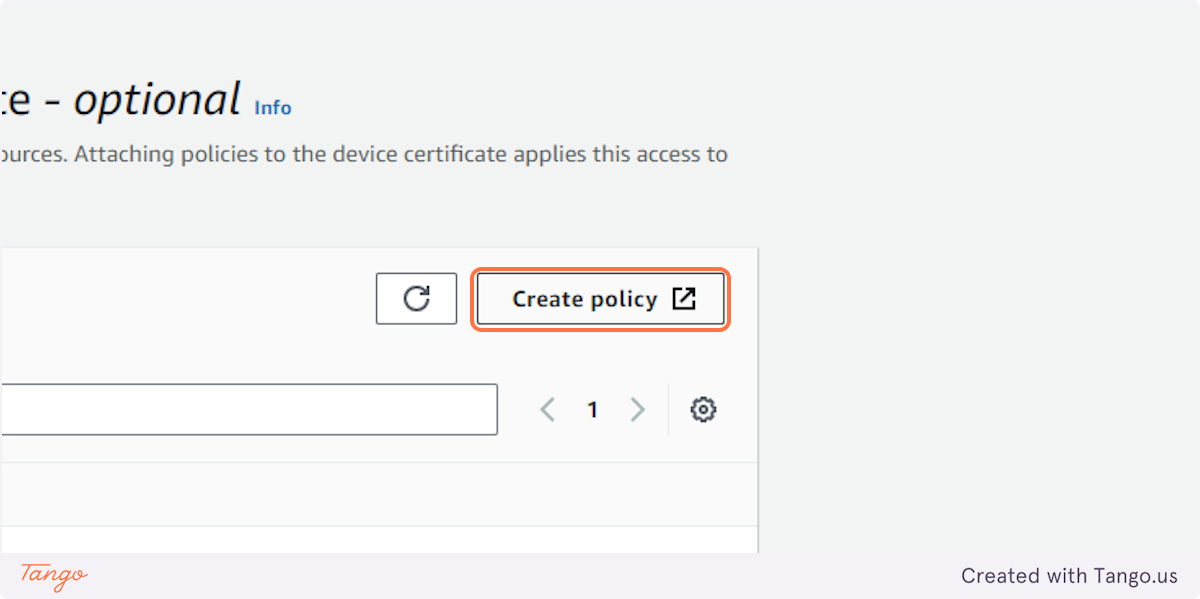
11. Click on Create policy
12. Type "RaspberryPi4Policy"

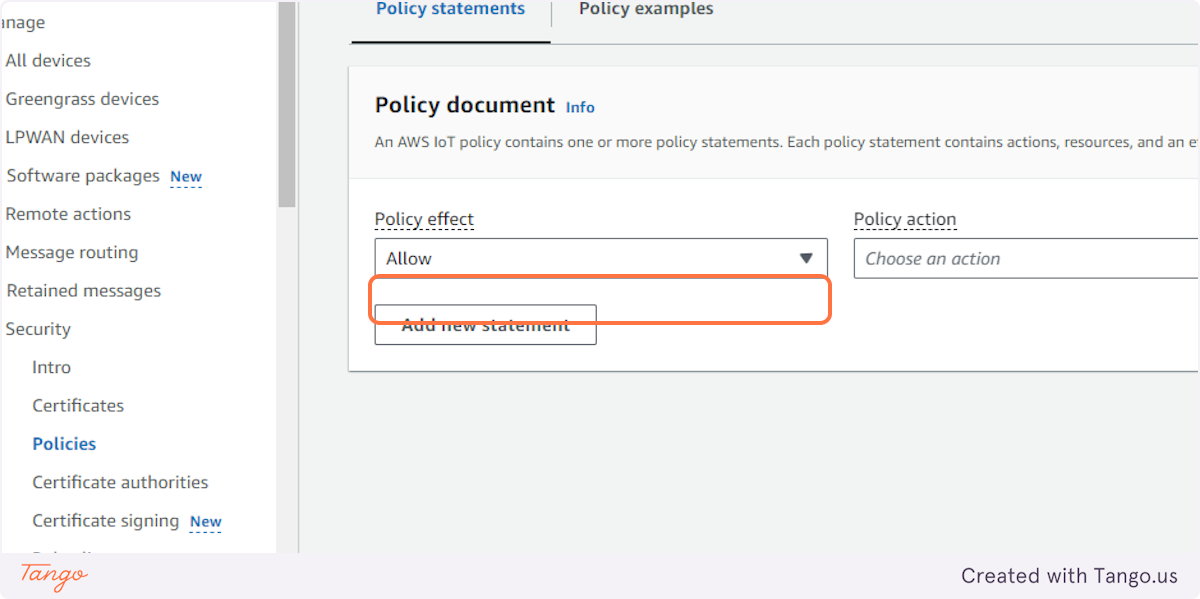
13. Click on Allow
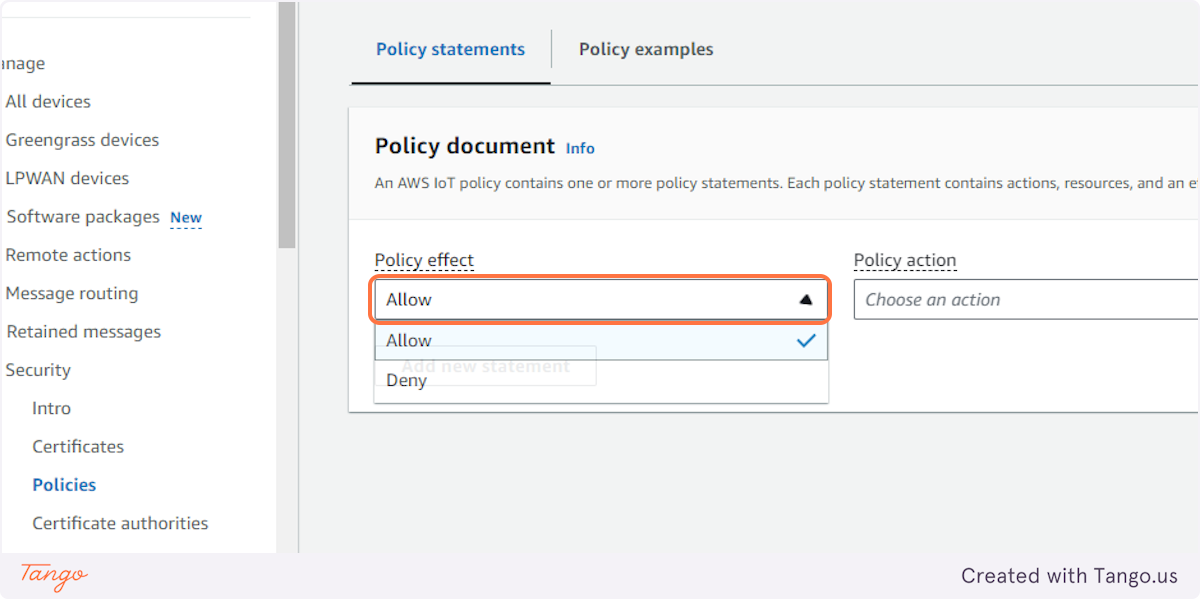
14. Click on Allow…
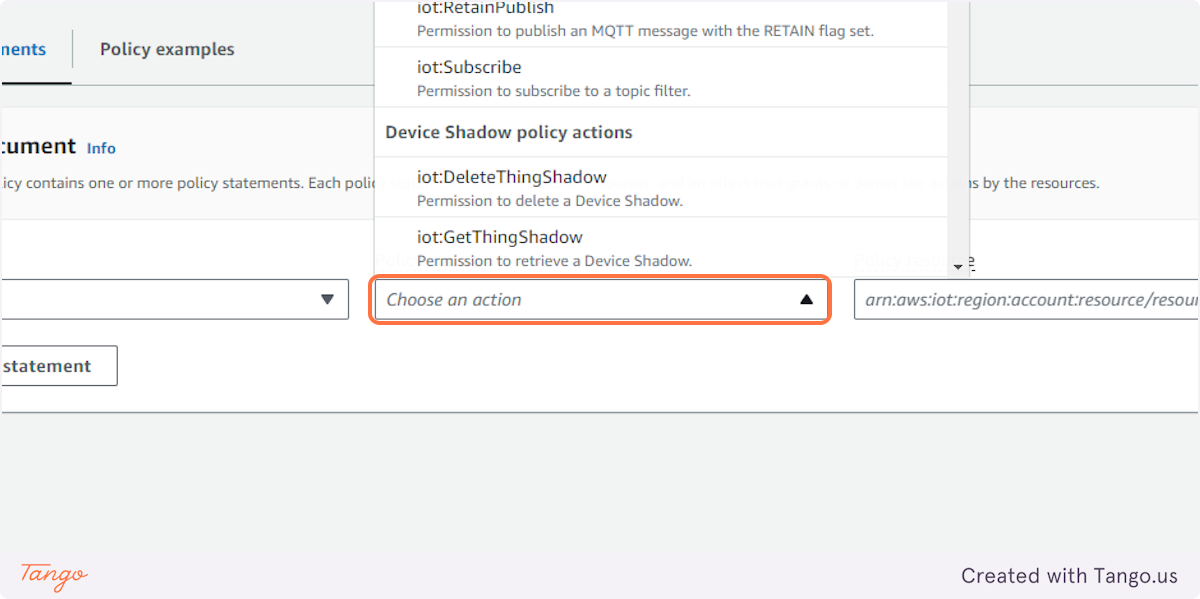
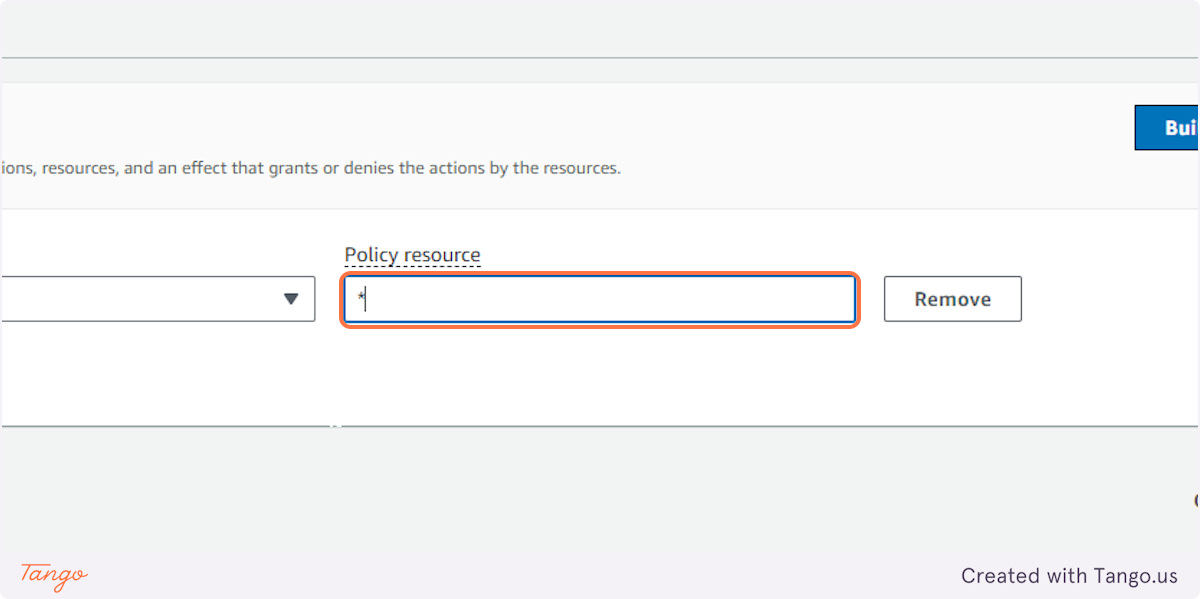
15. Click on Choose an action and Click on *...
16. Click on Policy resource
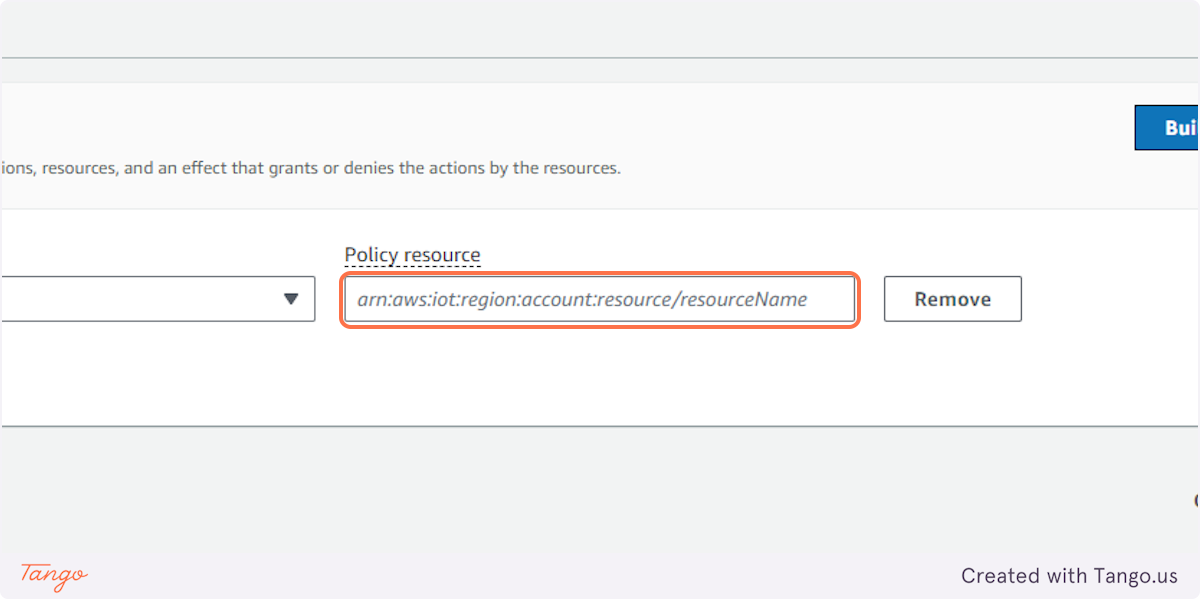
17. Type "*"
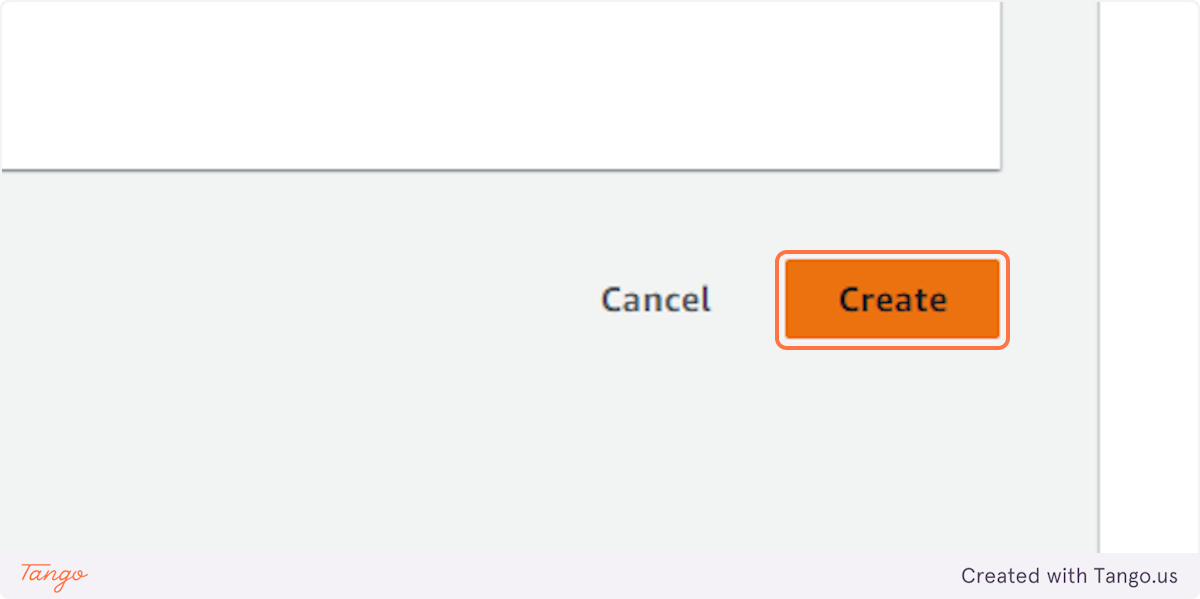
18. Click on Create
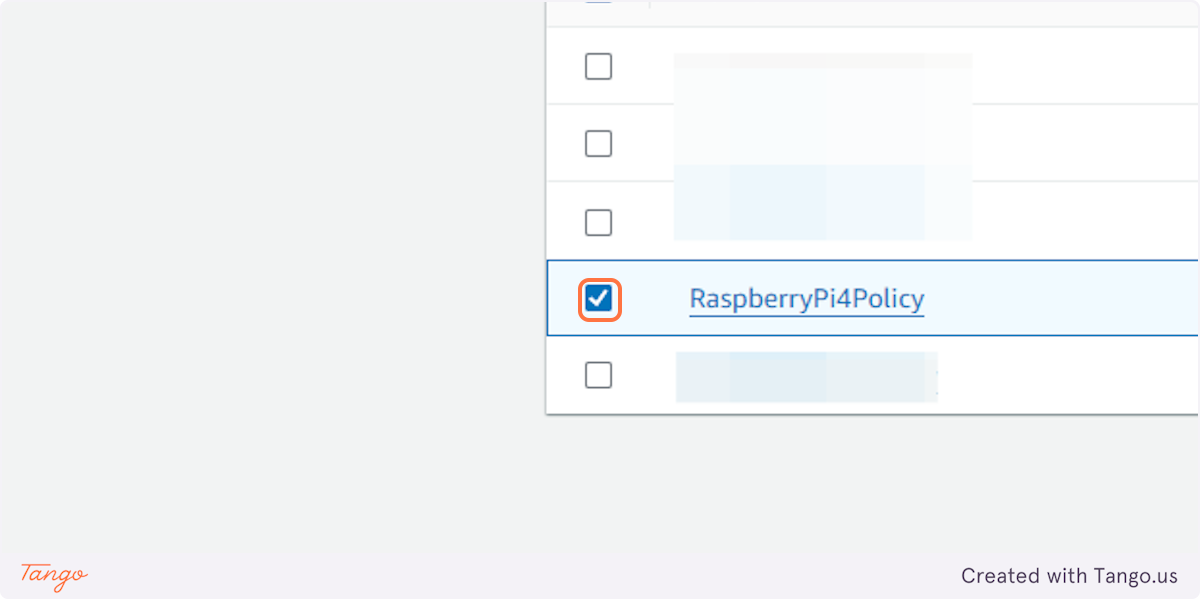
19. Check on
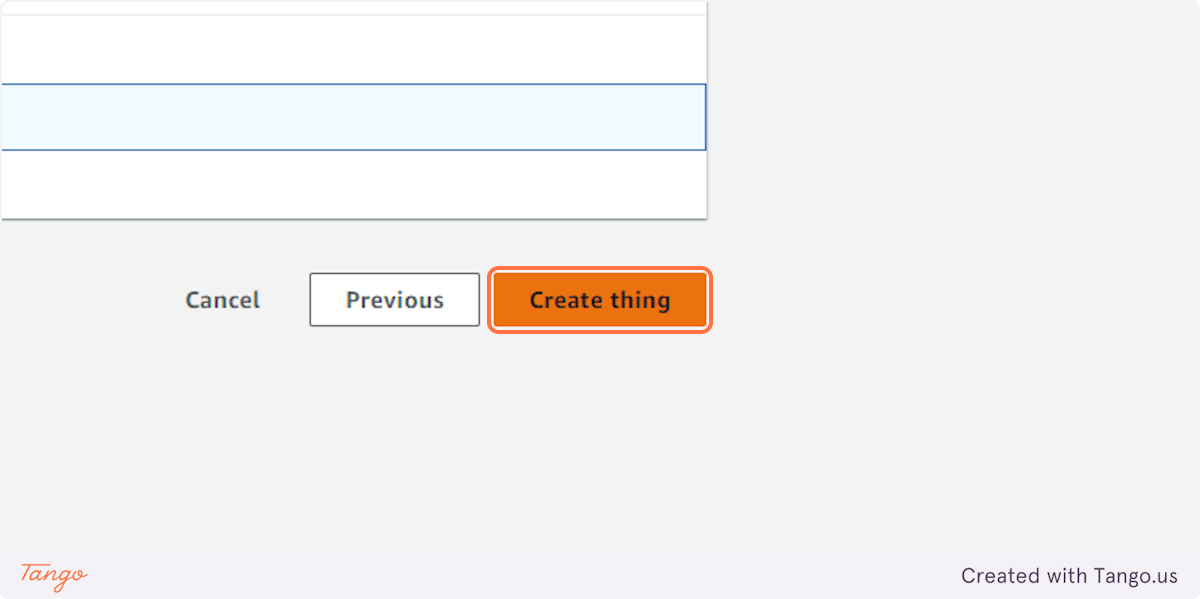
20. Click on Create thing
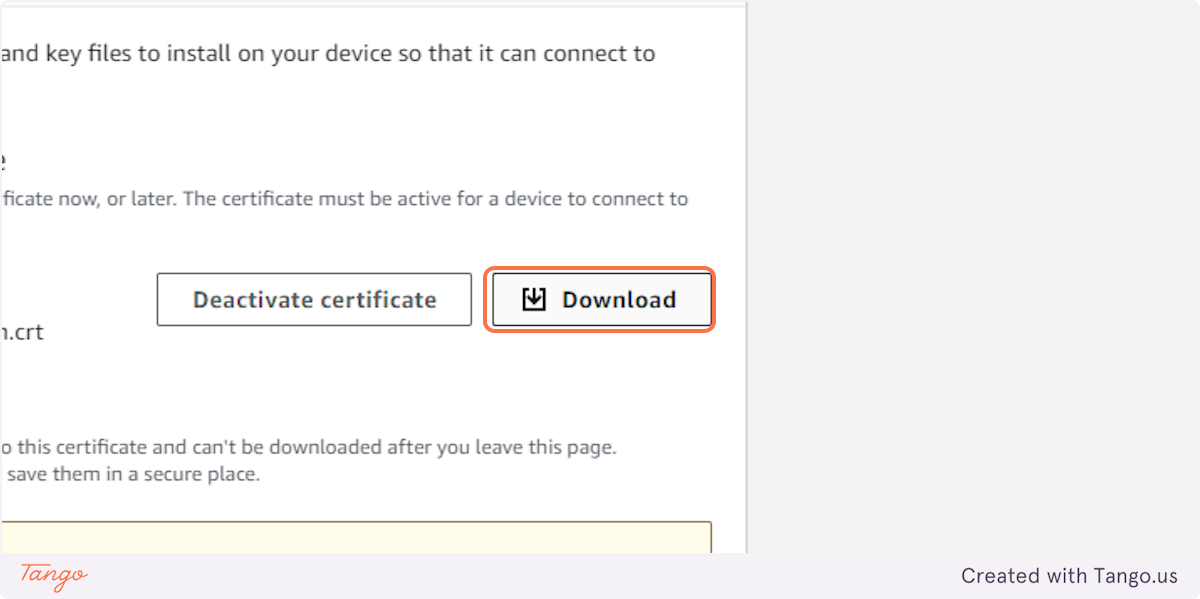
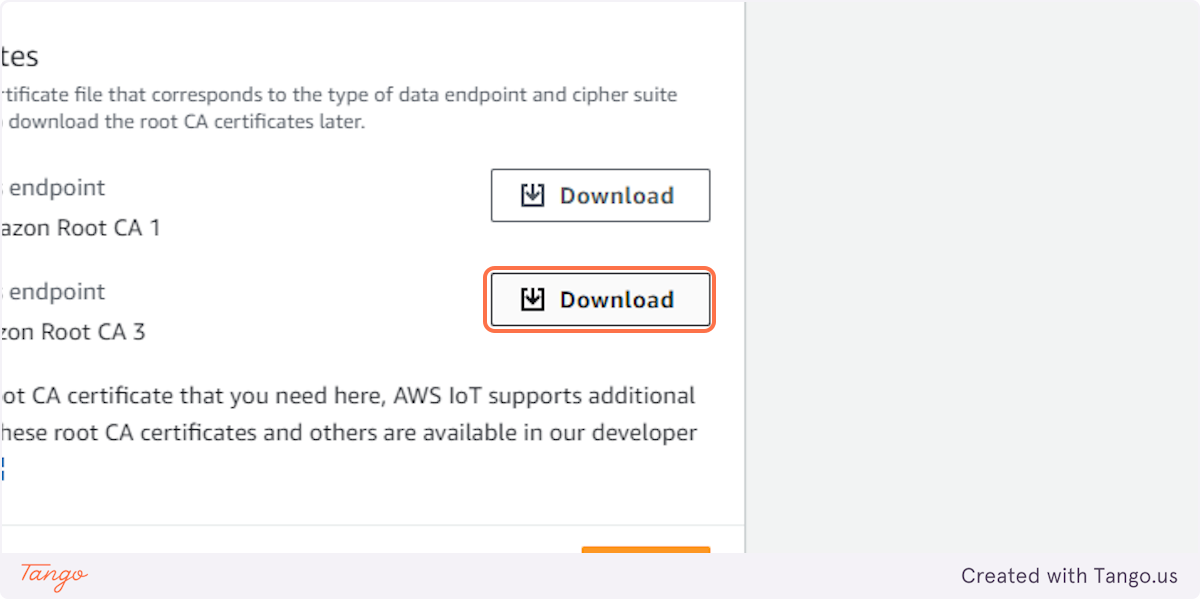
21. Click on Download
22. Click on Download
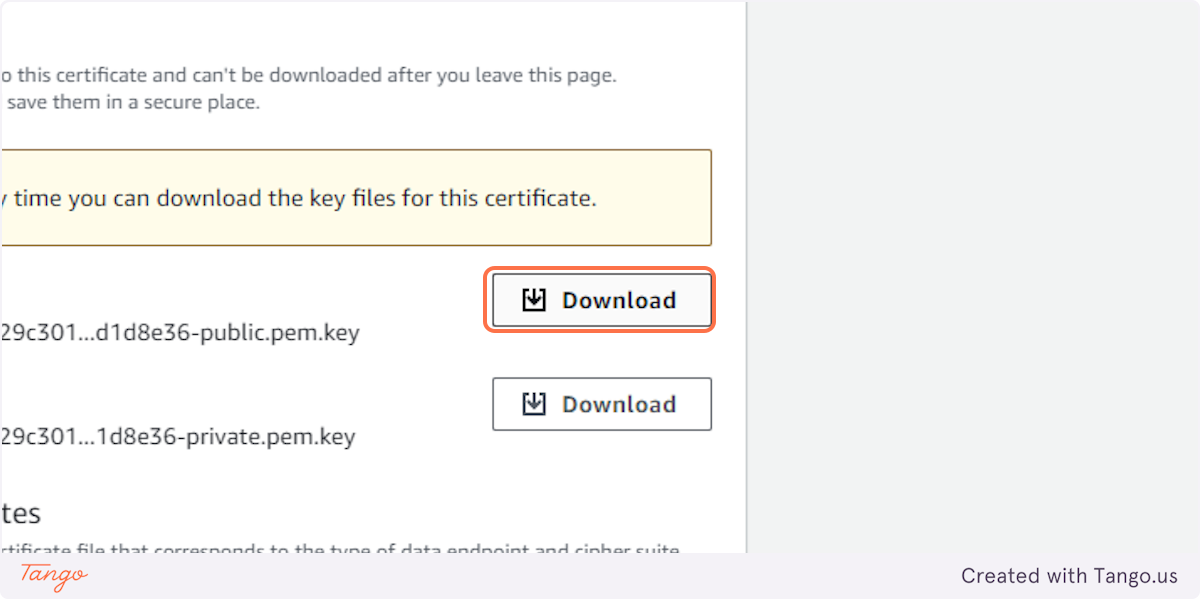
23. Click on Download
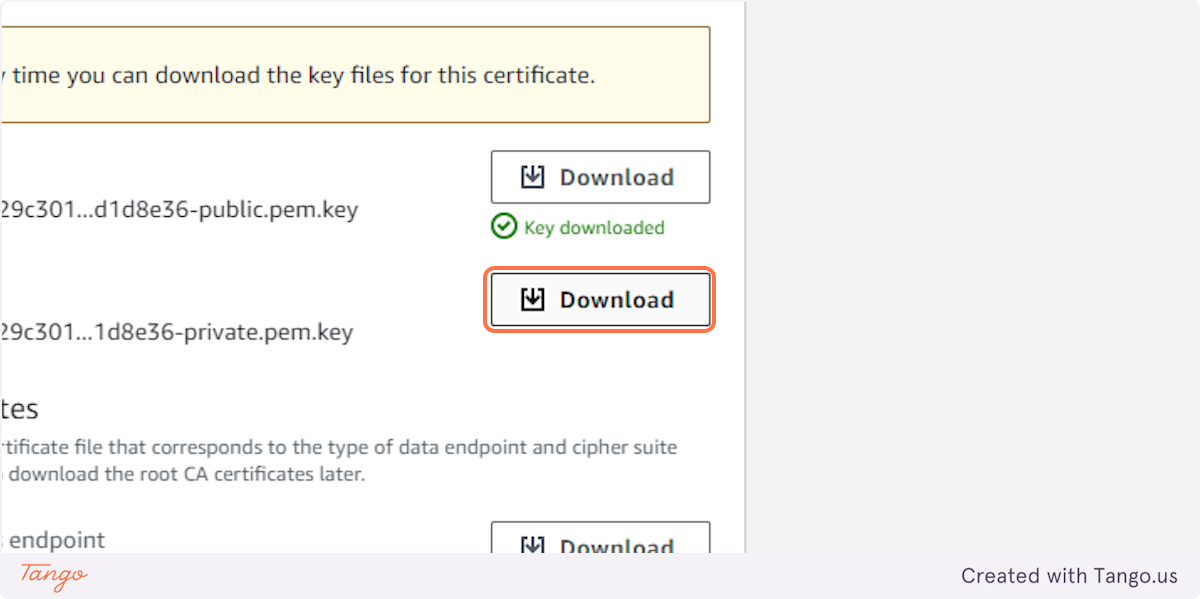
24. Click on Download
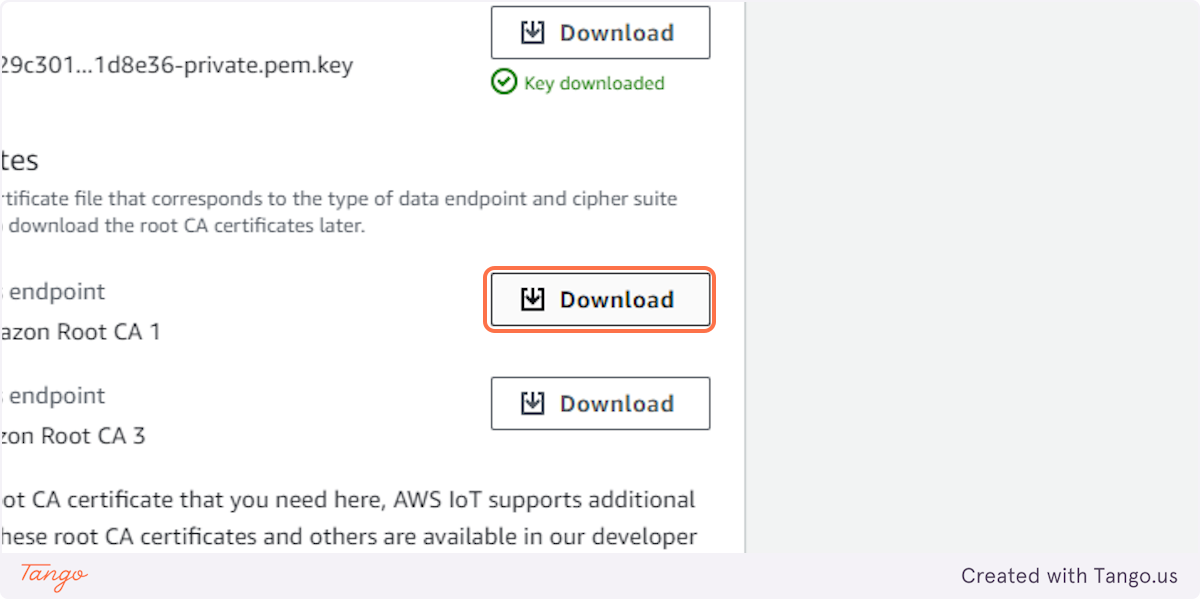
25. Click on Download
26. Click on Done
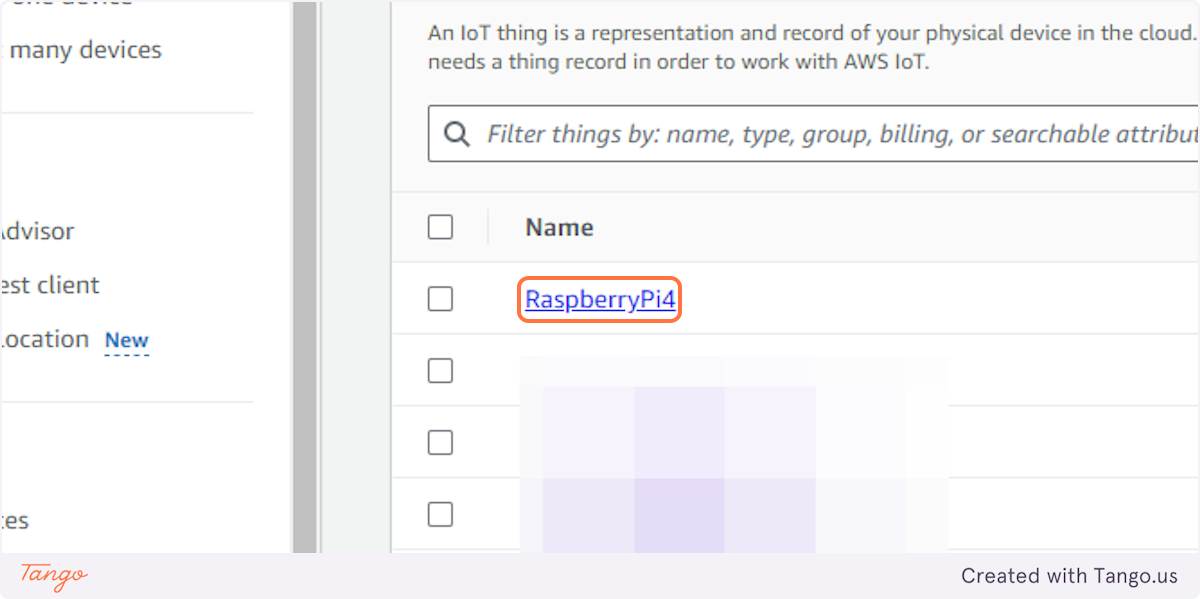
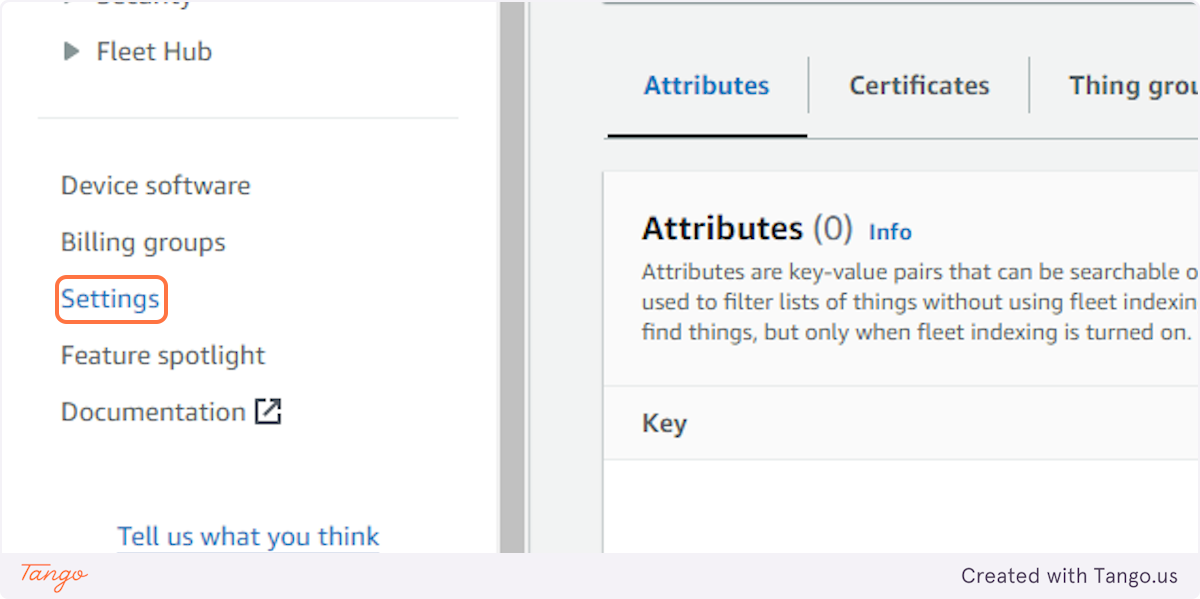
27. Click on RaspberryPi4
28. Click on Settings
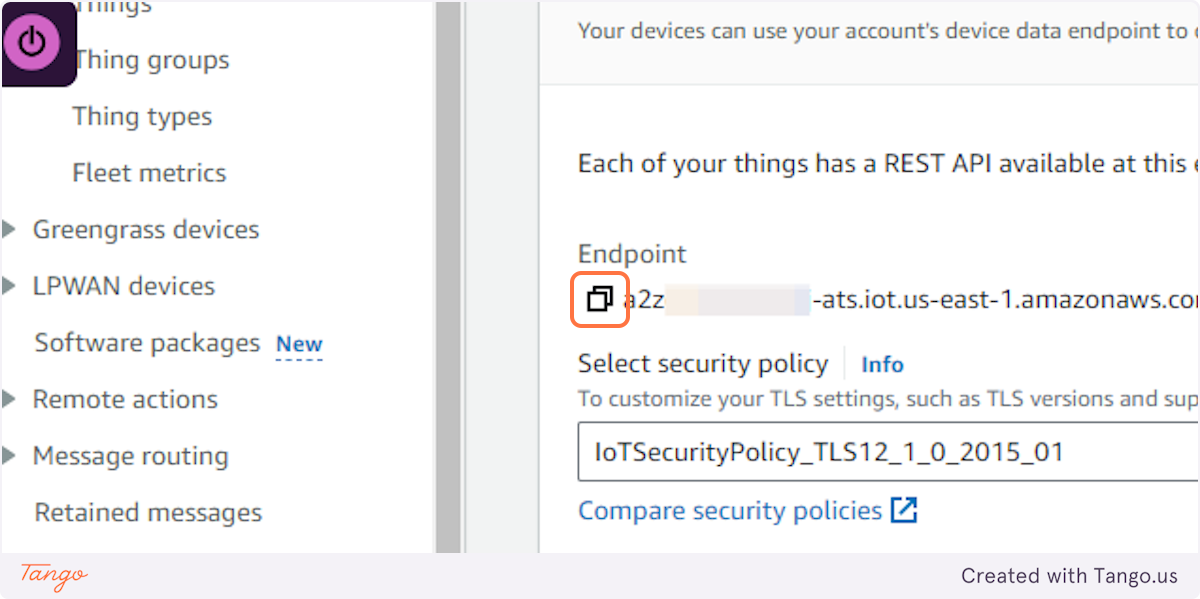
29. Click on Copy endpoint
Converting Device Certificate from .pem to pfx
In order to establish an MQTT connection with the AWS IoT platform, the root CA certificate, the private key of the thing, and the certificate of the thing/device are needed. The .NET cryptographic APIs can understand root CA (.crt), device private key (.key) out-of-the-box. It expects the device certificate to be in the .pfx format, not the .pem format. Hence we need to convert the device certificate from .pem to .pfx.
We'll leverage the openssl for converting .pem to .pfx. Navigate to the folder where all the security artifacts are present and launch bash for Windows 10.
The syntax for converting .pem to .pfx is below:
openssl pkcs12 -export -in iotdevicecertificateinpemformat -inkey iotdevivceprivatekey -out devicecertificateinpfxformat -certfile rootcertificatefile
If you replace with actual file names the syntax will look like below:
openssl pkcs12 -export -in certificate.pem.crt -inkey private.pem.key -out cerificate.pfx.crt -certfile AmazonRootCA1.pem
Below is the screenshot of the terminal

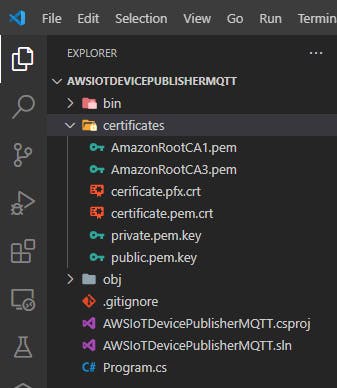
Below is the structure of the project directory
Setting Up Raspberry Pi:
- Update and Install Dependencies: Ensure your Raspberry Pi is up-to-date and install the required libraries for the AWS IoT Device SDK. You can use
sudo apt updateandsudo apt installcommands to manage packages.
Create a C# application: Create a new C# project on your Raspberry Pi using your preferred IDE(e.g., Visual Studio Code)
dotnet new console -o AWSIoTDevicePublisherMQTT
C# Implementation for MQTT Communication
Include Libraries: Import the necessary libraries for the AWS IoT Device SDK and MQTT communication.
- Add M2Mqtt nuget package for MQTT communication
dotnet add package M2Mqtt
Import the following namespaces.
  using System;
  using System.Text;
  using System.Security.Cryptography.X509Certificates;
  using System.Threading;
  using uPLibrary.Networking.M2Mqtt;
  using System.IO;
Then create an instance of Mqtt client object with IoT endpoint, broker port for MQTT, X509Certificate object for root certificate, X5092certificate object for device certificate and Mqttsslprotocols enumeration for TLS1.2.
Once the connection is successful, publish to AWS IoT by specifying the topic and payload. The following code snippet covers all of these. Be sure to update the iotEndpoint variable with the name of your account's IoT endpoint if it was not updated when running the provisioning script.
    using System;
    using System.Text;
    using System.Security.Cryptography.X509Certificates;
    using System.Threading;
    using uPLibrary.Networking.M2Mqtt;
    using System.IO;

    string iotEndpoint = "<<your-iot-endpoint>>";
    Console.WriteLine("AWS IoT Dotnet message publisher starting..");

    int brokerPort = 8883;
    string topic = "Hello/World";
    string message = "Test message";

    var caCert = X509Certificate.CreateFromCertFile("certificates/AmazonRootCA1.pem");
    var clientCert = new X509Certificate2("certificates/cerificate.pfx.crt");

    var client = new MqttClient(iotEndpoint, brokerPort, true, caCert, clientCert, MqttSslProtocols.TLSv1_2);

    string clientId = Guid.NewGuid().ToString();
    client.Connect(clientId);
    Console.WriteLine($"Connected to AWS IoT with client id: {clientId}.");

    int i = 0;
    while (true)
    {
        client.Publish(topic, Encoding.UTF8.GetBytes($"{message} {i}"));
        Console.WriteLine($"Published: {message} {i}");
        i++;
        Thread.Sleep(5000);
    }
Run the application using dotnet run
The results on the terminal are as shown below:

Naviage to the MQTT Test Client on the AWS console to see the data that is being published from the C# console application.
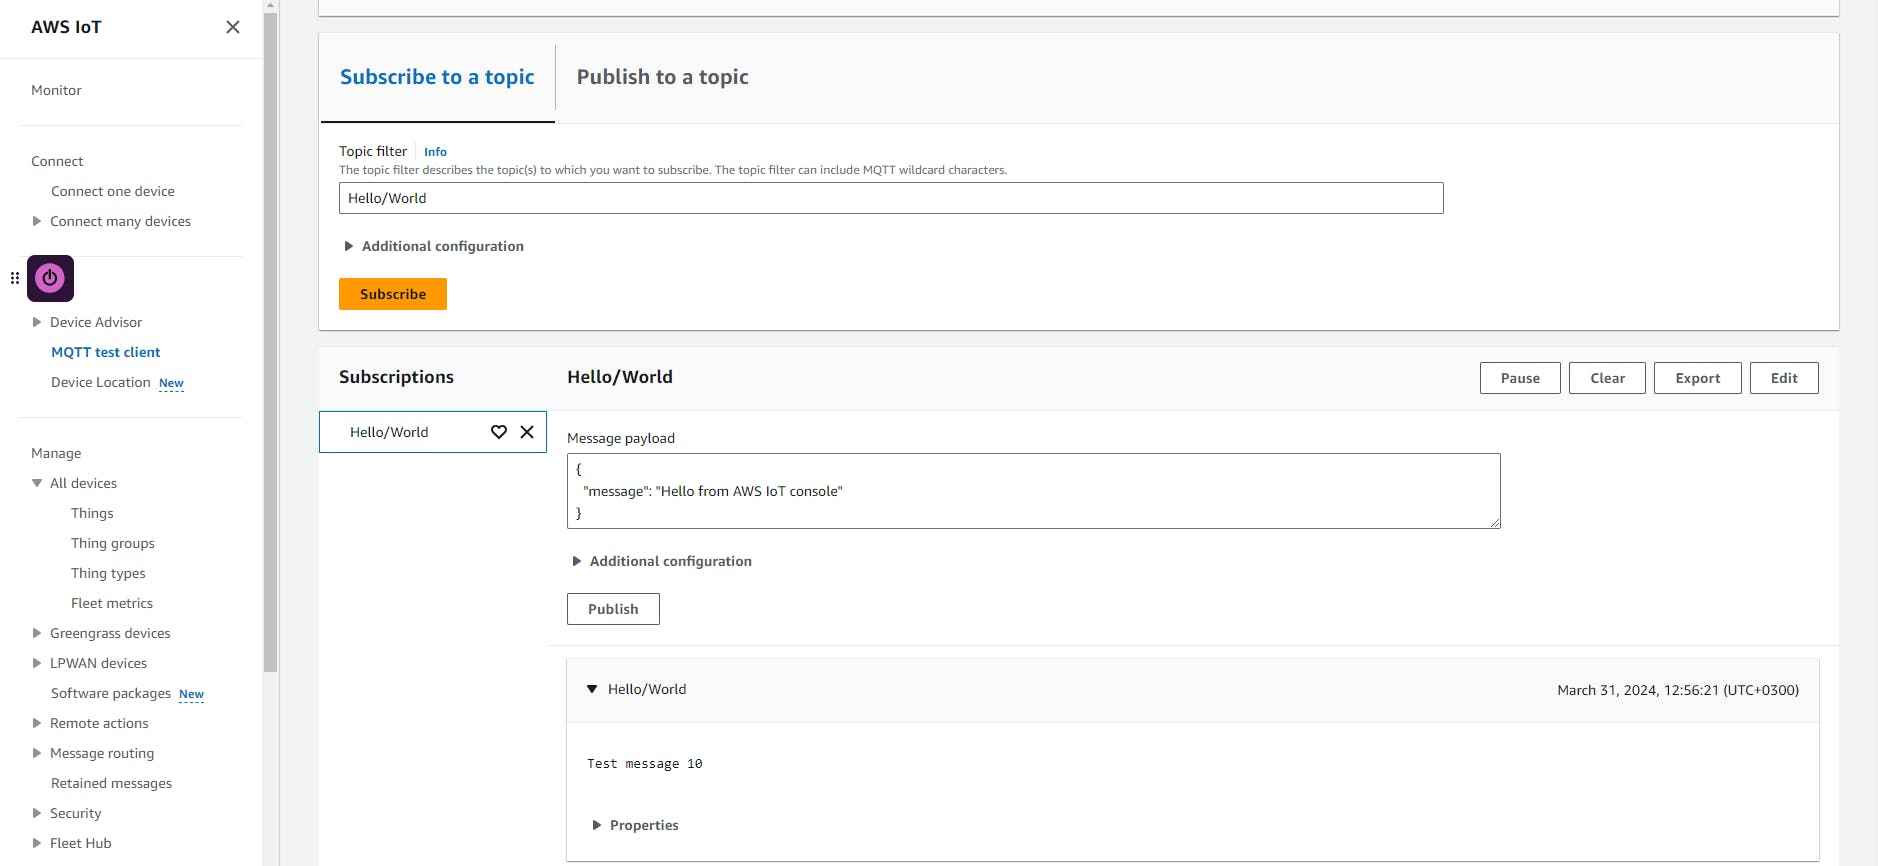
Upto that point the Raspberry Pi has been able to connect to AWS IoT Core and publish message to Hello/World
Conclusion
By following the steps, you've successfully connected your Raspberry Pi 4 to AWS IoT Core using MQTT in .NET. This enables you to securely collect sensor data from your Raspberry Pi and send commands from the cloud for remote control and monitoring purposes.
Additional Resources:
AWS IoT Core Documentation: https://docs.aws.amazon.com/iot/
AWS IoT Device SDK for .NET: https://docs.aws.amazon.com/sdkfornet/v3/apidocs/items/IoT/TIoTClient.html